Luscious, sweet pears are baked to perfection and topped with a crunchy oat-nut mixture in this vegan pear crisp recipe. Not only is this pear dessert vegan, it's gluten-free and oil-free too. An easy-to-make dessert that's not only perfect for the holidays, but can be enjoyed all year long!
Jump to Recipe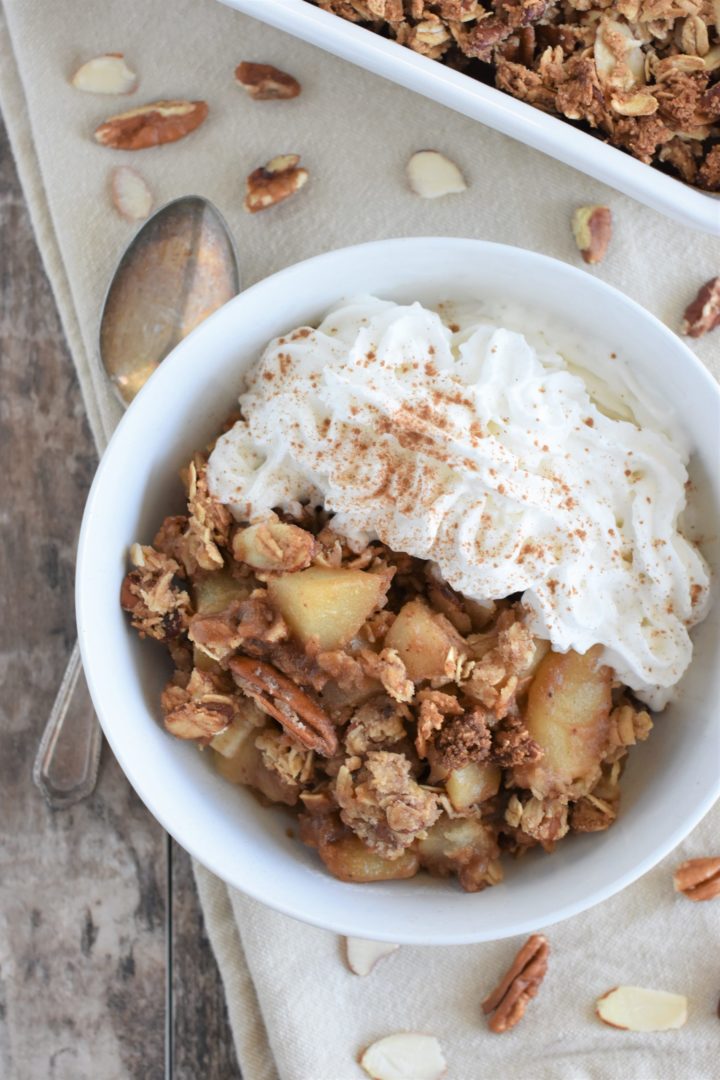
♪ On the first day of Christmas my true love gave me this...
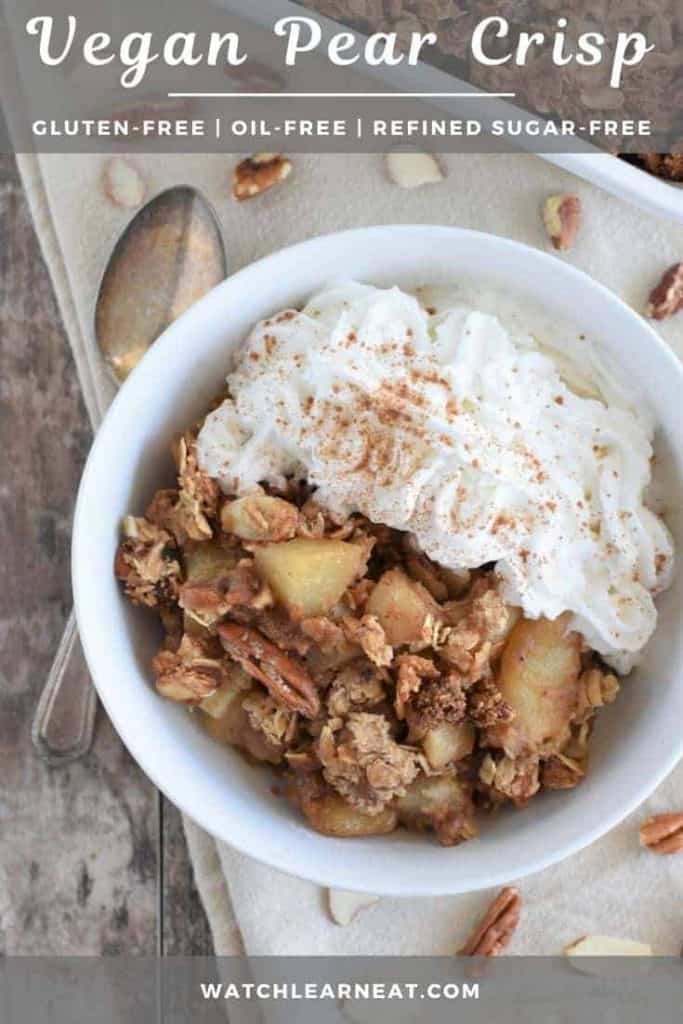
A bowl full of vegan pear crisp ♫
Now that you’ve been serenaded with some holiday spirit, it’s time to start thinking about all the delicious dishes you’re going to stuff your face with this season...
...like this sweet, decadent pear crisp!
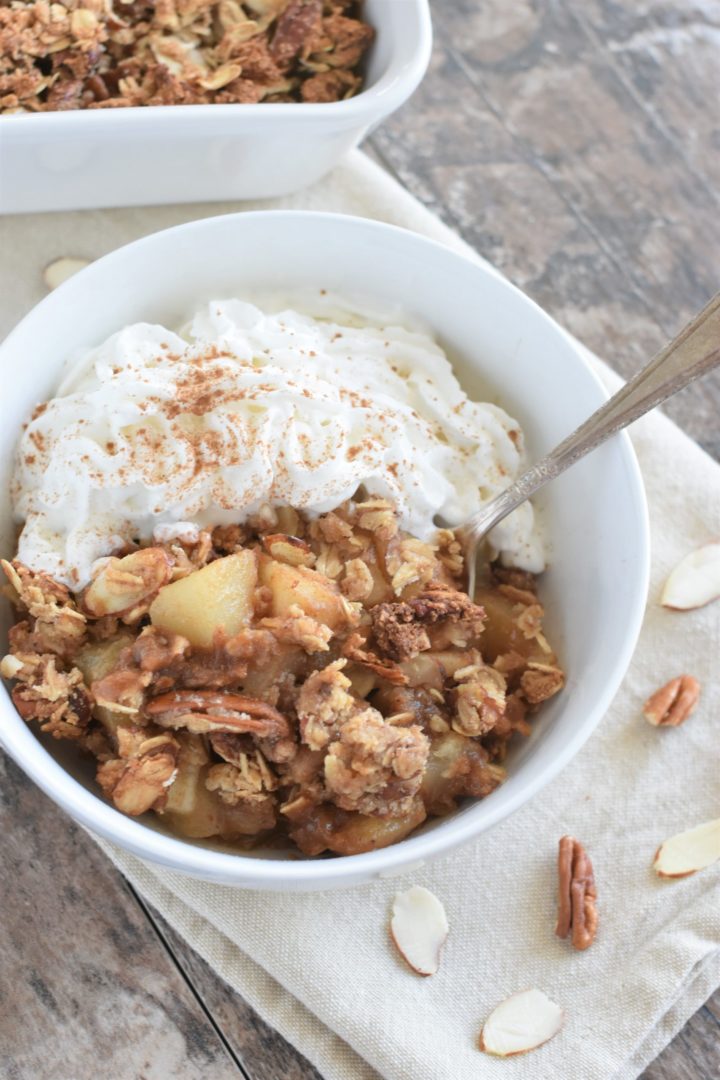
The sweet, cinnamony, tender baked pears are pure heaven, especially along with the crunch of the crispy topping and a bit of coconut whipped cream with a sprinkle of cinnamon.
Jump to:
Ingredient highlights
Unlike my nut-free vegan apple crisp which uses plant-based butter, my goal was to keep this dessert oil-free.
So, instead of the vegan butter in the topping, I mixed in some almond flour.
It worked like a charm in giving my cheesy vegan biscuits a buttery flavor and texture, so I figured it would work in this pear crisp too..and it did!
And since I am love nuts, I decided to go with two kinds for this dessert - pecans and almonds. 🙂
I used pecan pieces and sliced almonds since neither of them need further chopping.
I also kept the dish refined sugar-free, using a combination of maple syrup and coconut sugar as sweeteners.
How to make this pear crisp - step by step
Preheat your oven to 350° F.
Peel, core and chop the pears into chunks that are relatively the same size.
Add the pear chunks to a mixing bowl.
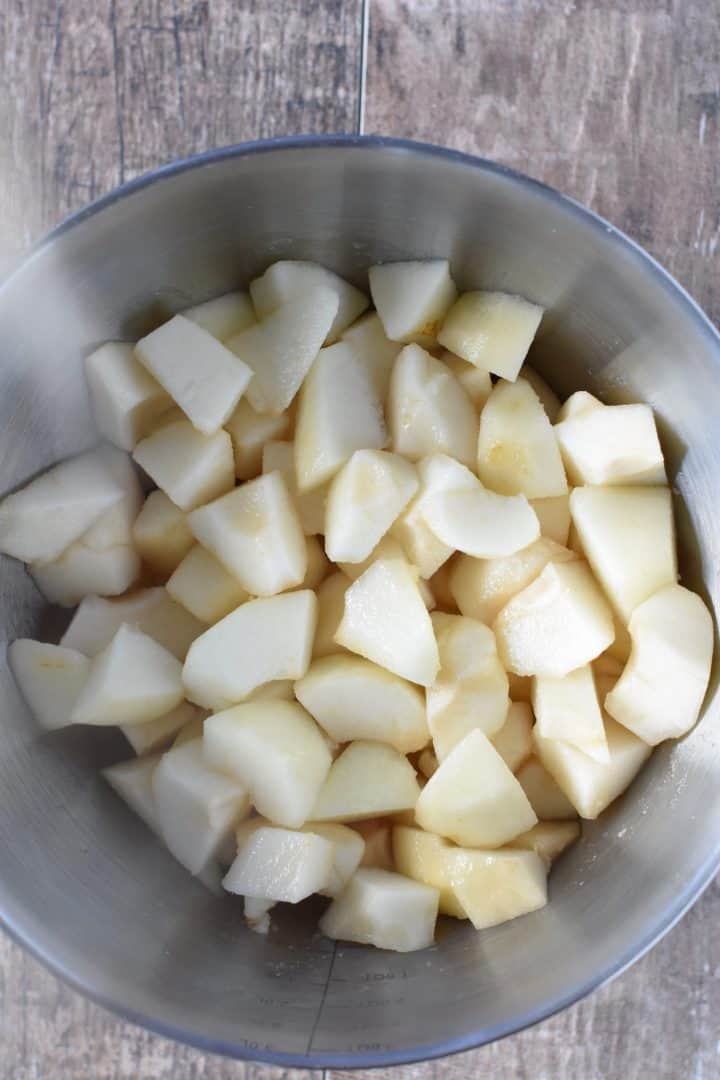
Add lemon juice, lemon zest, coconut sugar, oat flour, cinnamon and nutmeg to the pears.
Use your hands or a silicone spatula to combine ingredients until they are well incorporated.
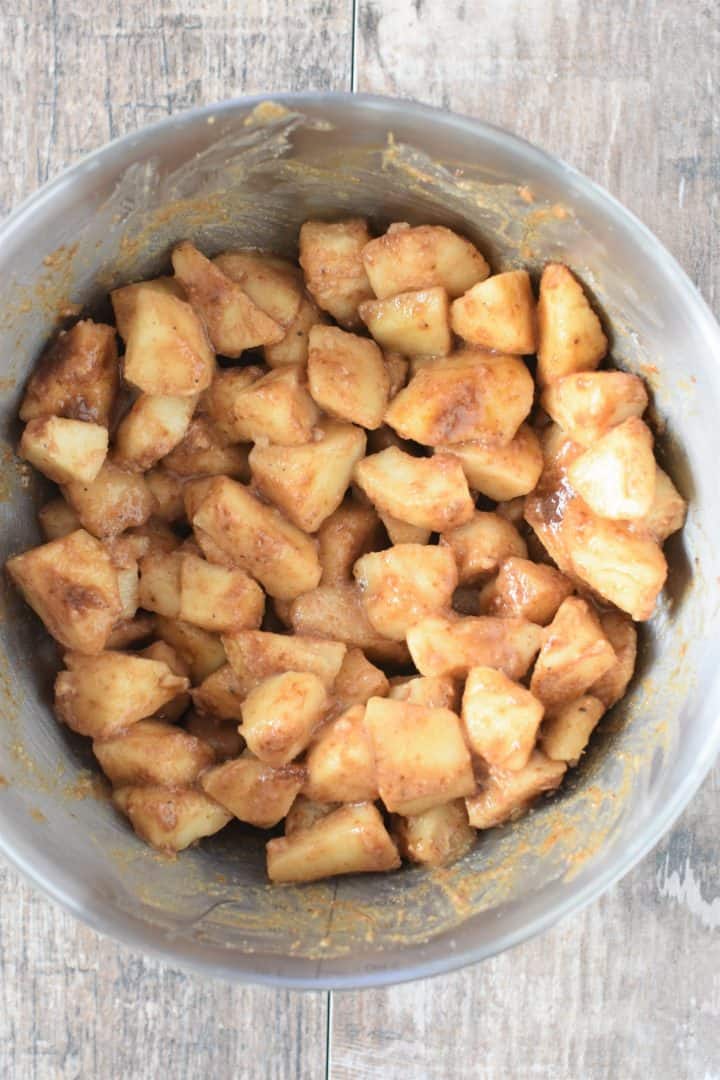
Transfer the pear mixture to a 13" x 9" baking dish.
Spread the pears around so that they are evenly distributed.
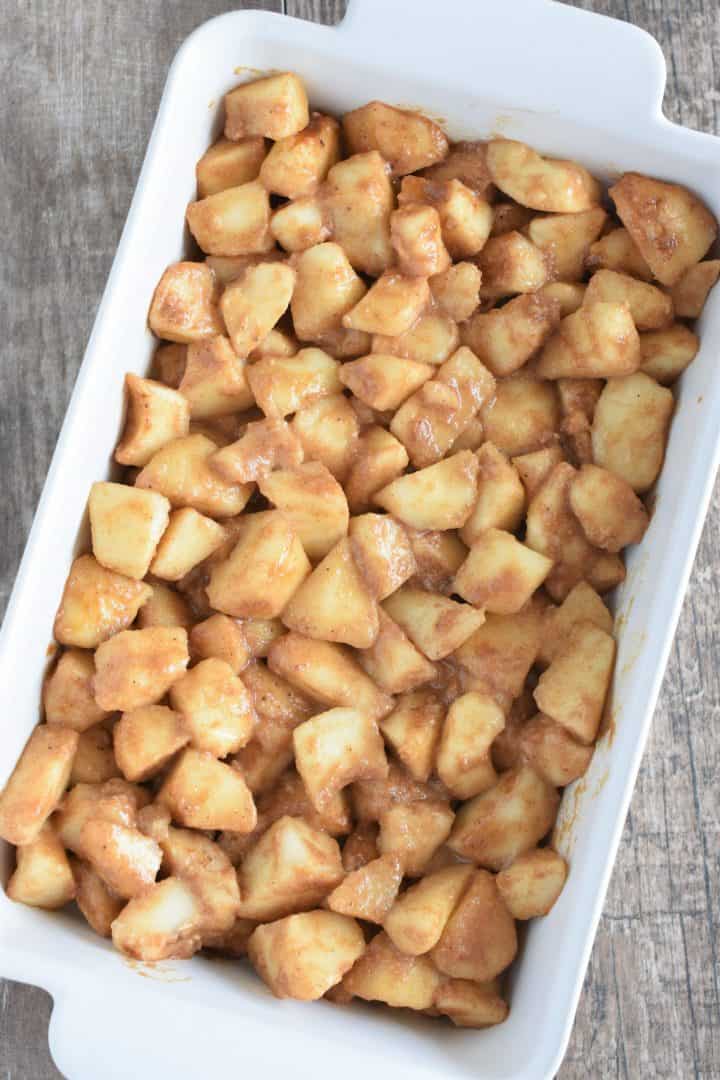
Now, make the topping.
Add oats, pecans, almonds, almond flour, maple syrup, cinnamon and salt to a mixing bowl.
Mix until well-combined.
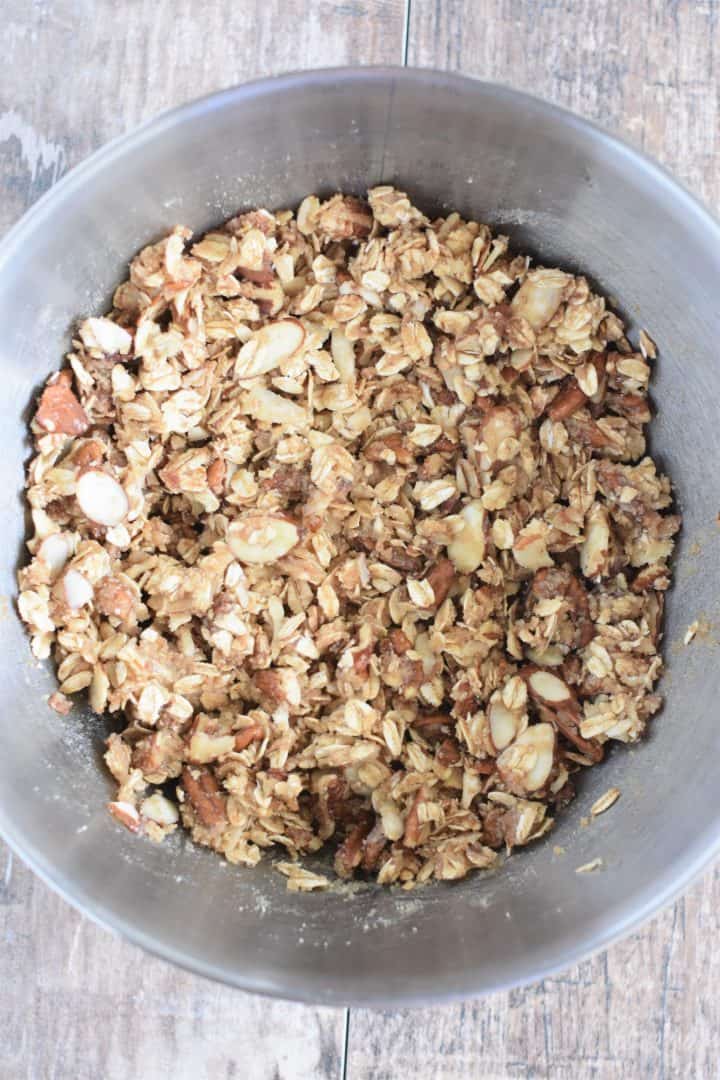
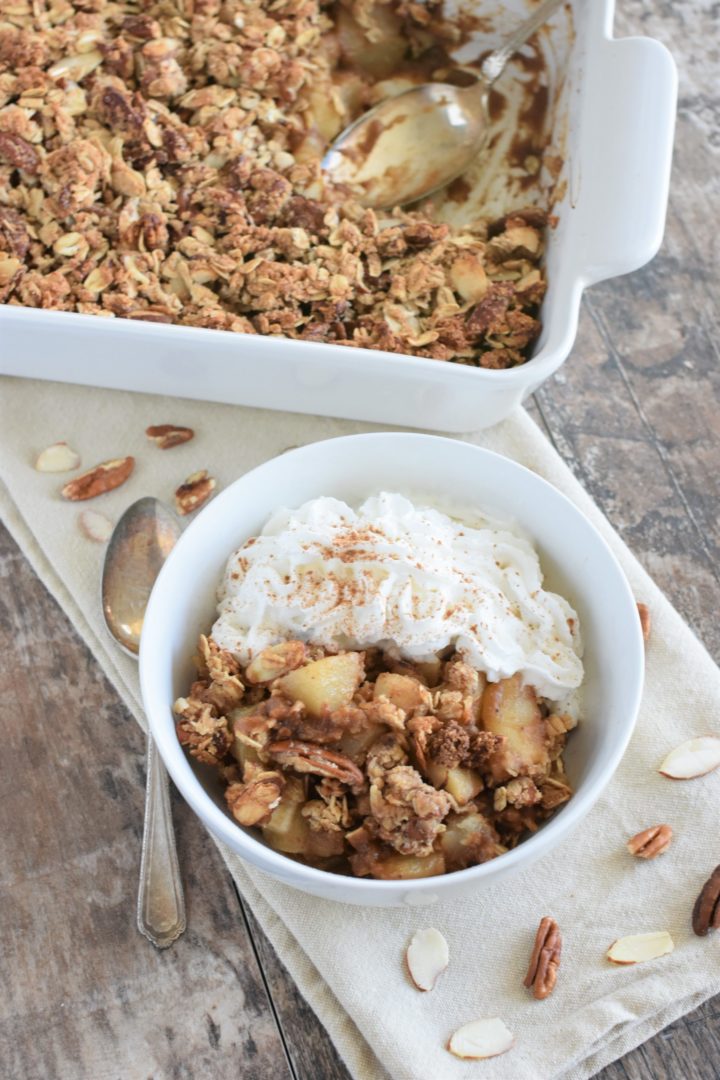
Sprinkle the topping mixture evenly over the pear mixture in the baking dish.
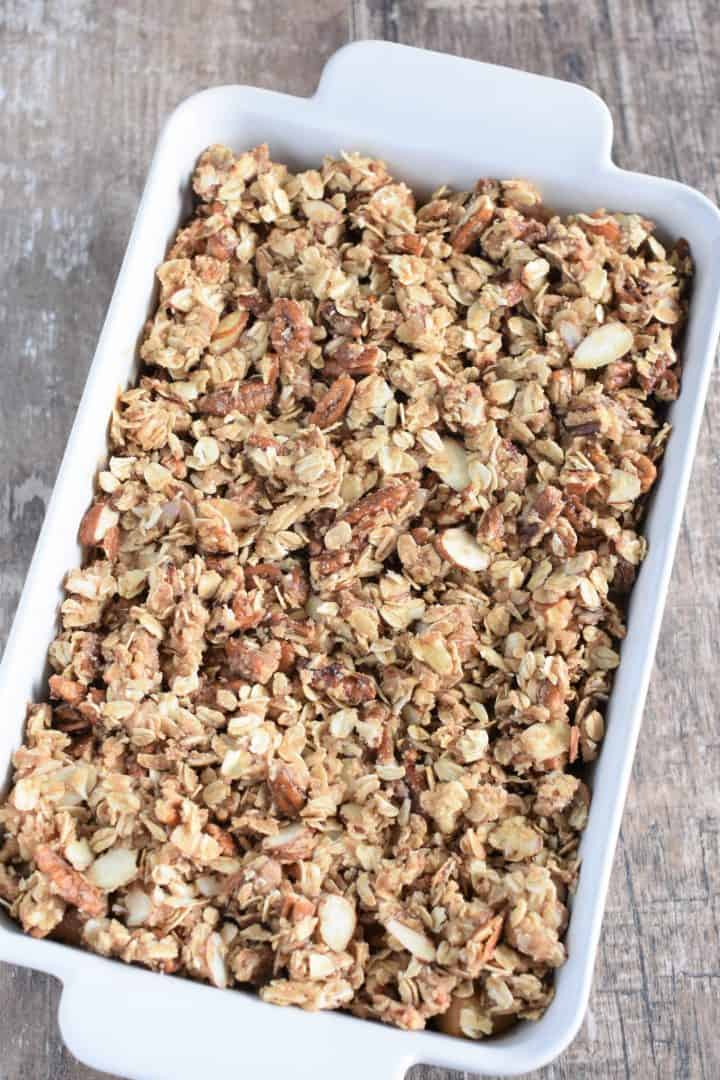
Bake uncovered for 45-50 minutes until fruit is bubbling and topping has browned.
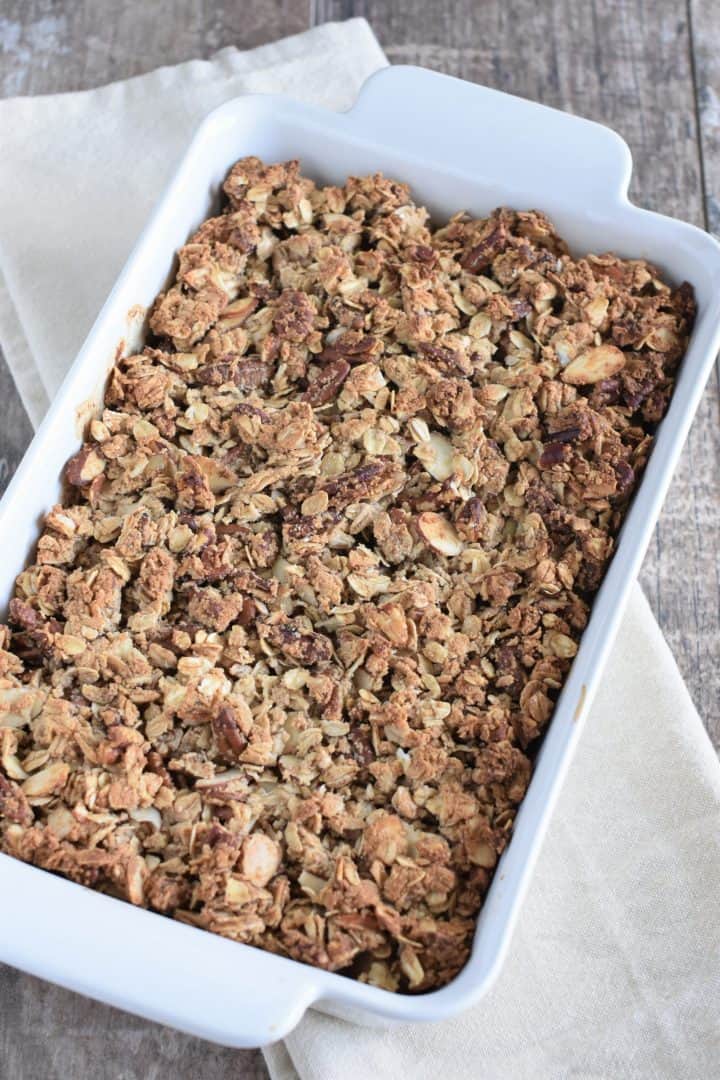
Allow to cool for 1-15 minutes before serving.
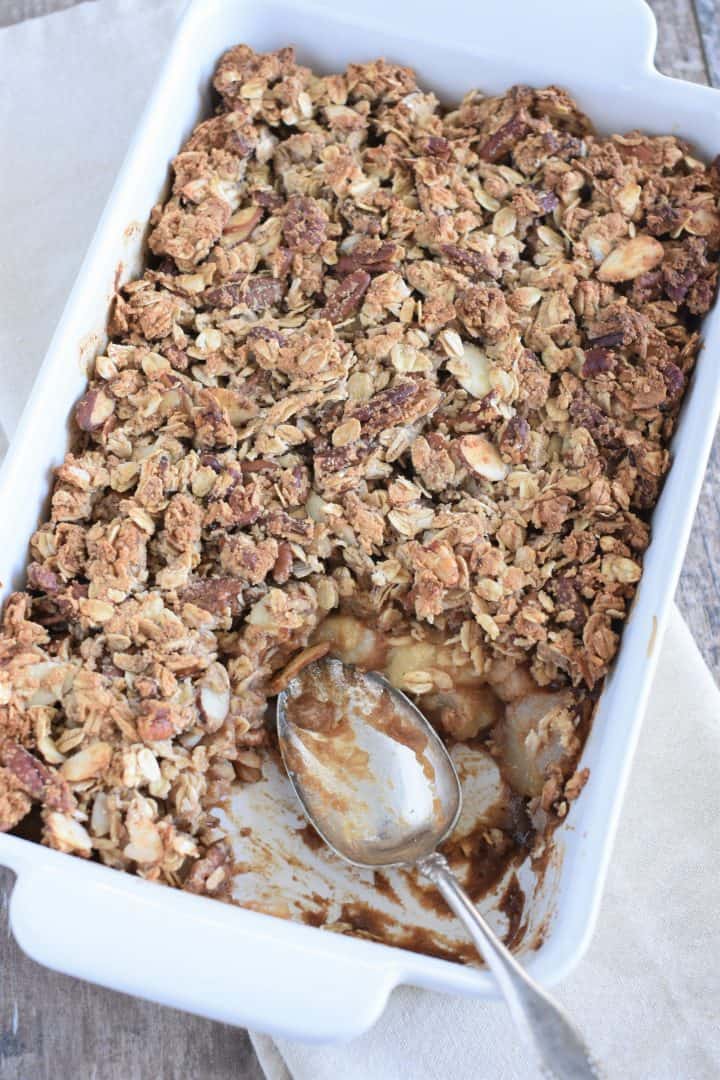
What kind of pears are best to use?
I used Bartlett pears, but Anjou pears would work as well.
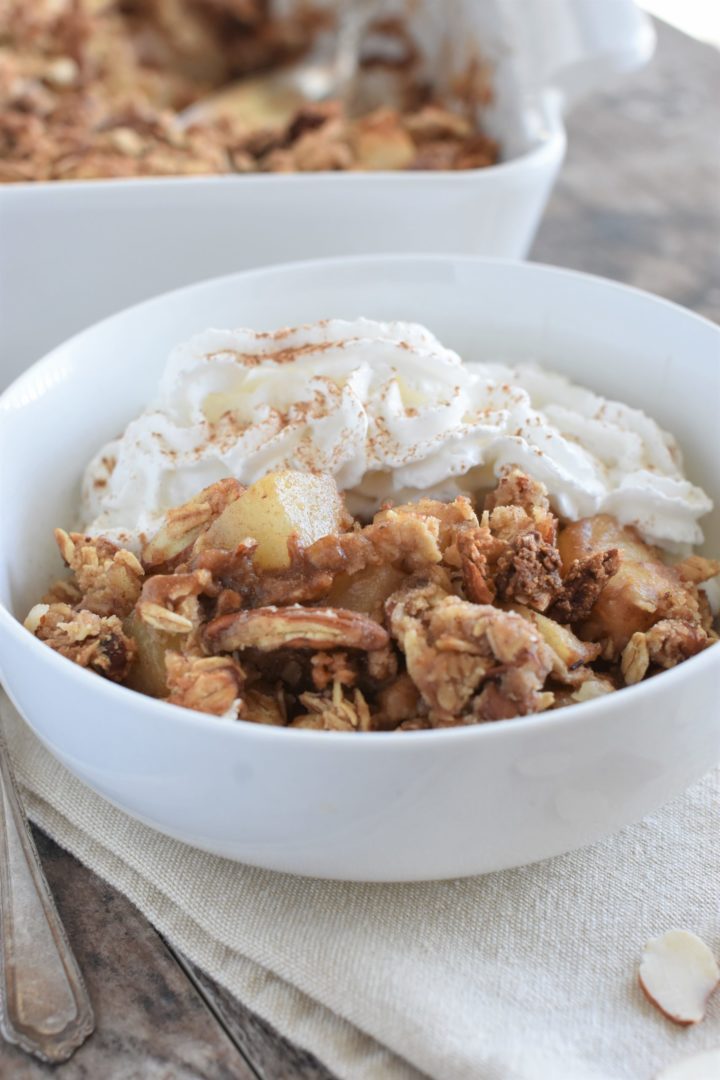
Serving
This dessert is perfect served with some dairy-free whipped topping or your favorite vegan vanilla ice cream.
Of course, you can eat it as is too. 😉
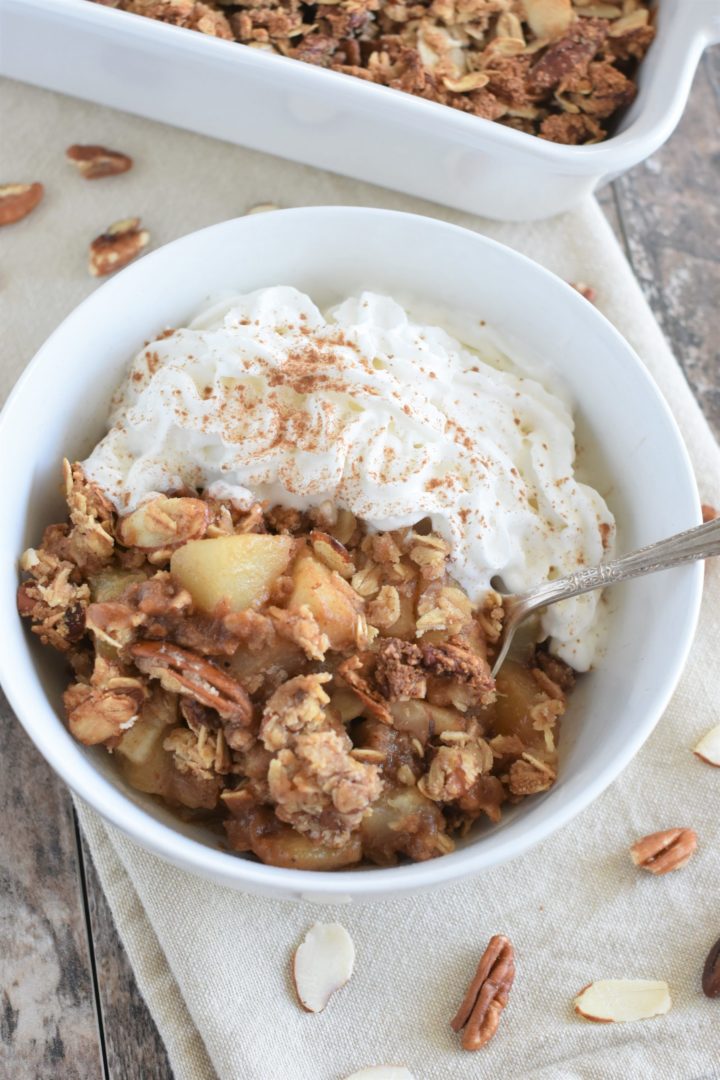
Storing
Store leftovers covered in the refrigerator for up to 5 days.
Leftovers are best reheated in the oven, but can be microwaved as well or eaten cold, if desired.
Pear Crisp
Ingredients
FOR THE FILLING
- 3 lb. Bartlett pears, peeled, cored and chopped into chunks relatively the same size (you can substitute with Anjou)
- 2 tbsp. freshly squeezed lemon juice
- ¼ tsp. lemon zest
- ¼ cup coconut sugar
- 2 tbsp. gluten-free, whole-grain oat flour
- 1 tsp. ground Ceylon cinnamon
- ½ tsp. ground nutmeg
FOR THE TOPPING
- 1 cup whole-grain, gluten-free oats
- ¾ cup almond flour (finely ground)
- ¾ cup chopped pecans
- ¾ cup sliced almonds
- ½ cup pure maple syrup
- 1 tsp. ground Ceylon cinnamon
- ½ tsp. kosher salt
Instructions
FOR THE FILLING
- Preheat oven to 350° F.
- Add the pear chunks to a mixing bowl. Add lemon juice, lemon zest, coconut sugar, oat flour, cinnamon and nutmeg to the pears. Use your hands or a silicone spatula to combine ingredients until they are well incorporated.
- Transfer the pear mixture to a 13" x 9" baking dish. Spread the pears around so that they are evenly distributed.
FOR THE TOPPING
- Add oats, almond flour, pecans, almonds, maple syrup, cinnamon and salt to a mixing bowl. Mix until well-combined.
- Sprinkle the topping mixture evenly over the pear mixture in the baking dish.
- Bake uncovered for 45-50 minutes until the fruit is bubbling and topping has browned. Allow to cool for 10-15 minutes before serving.
(Please refer to the post above for instructional photographs and other helpful information for this recipe)
Suggested Equipment/Tools
Notes
Nutrition
©Watch Learn Eat. All content and images are copyright protected. Recipes and images are not to be used or republished without prior permission. If you adapt this recipe, please re-write the recipe in your own words, and link back to this post for the original recipe.



Leave a Reply