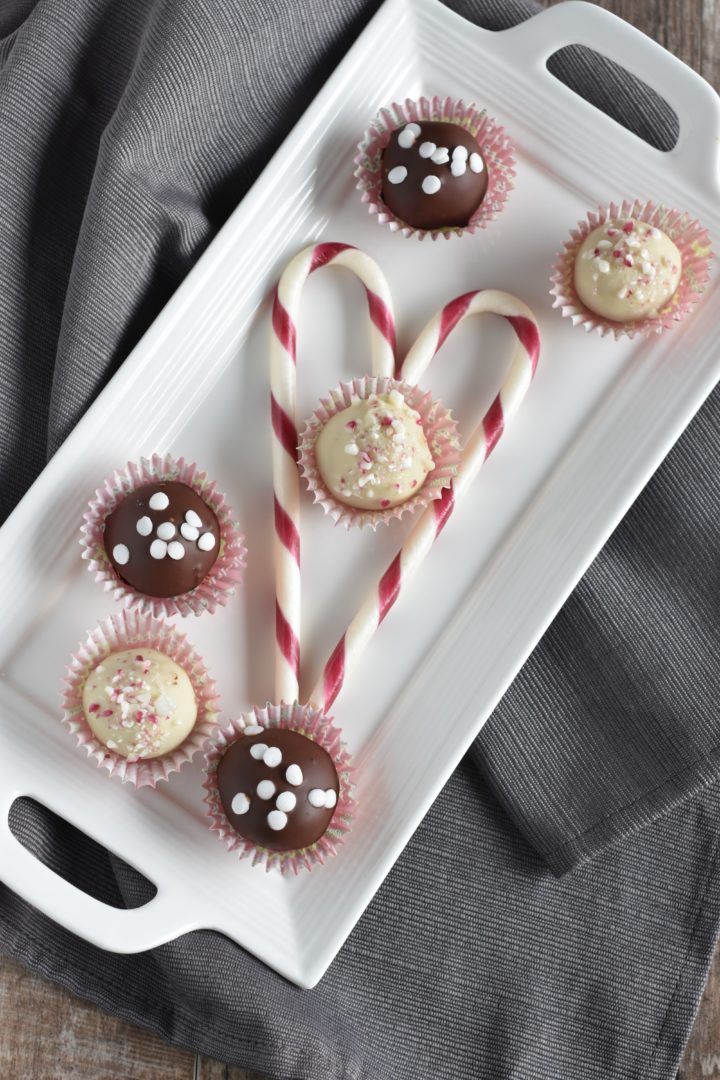
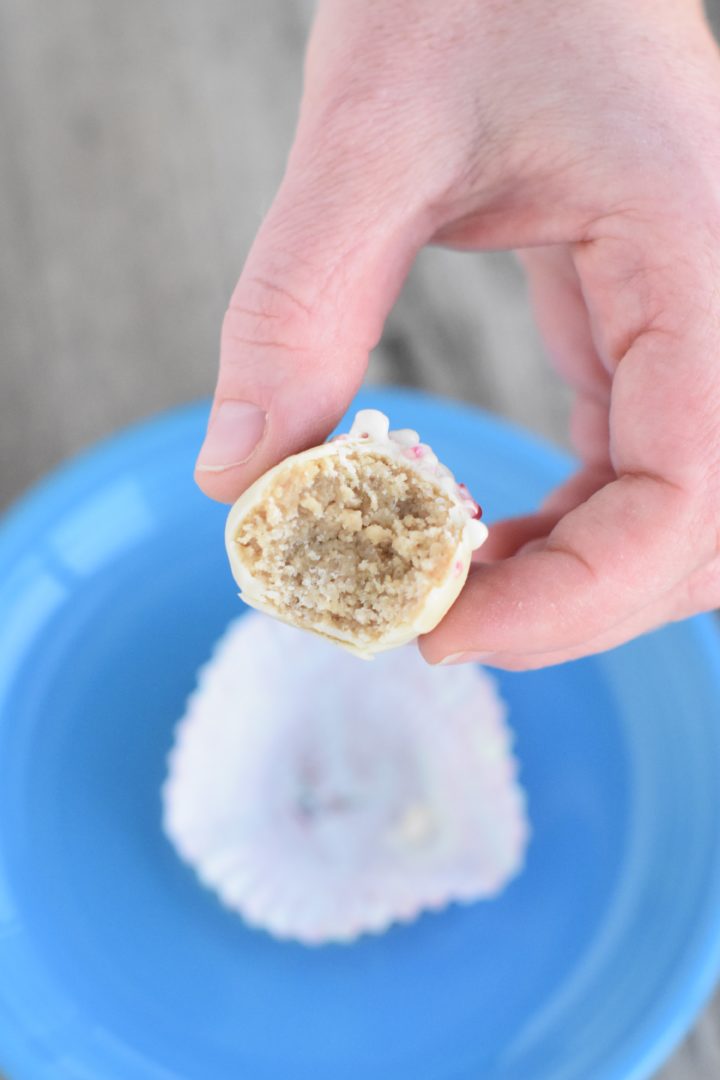
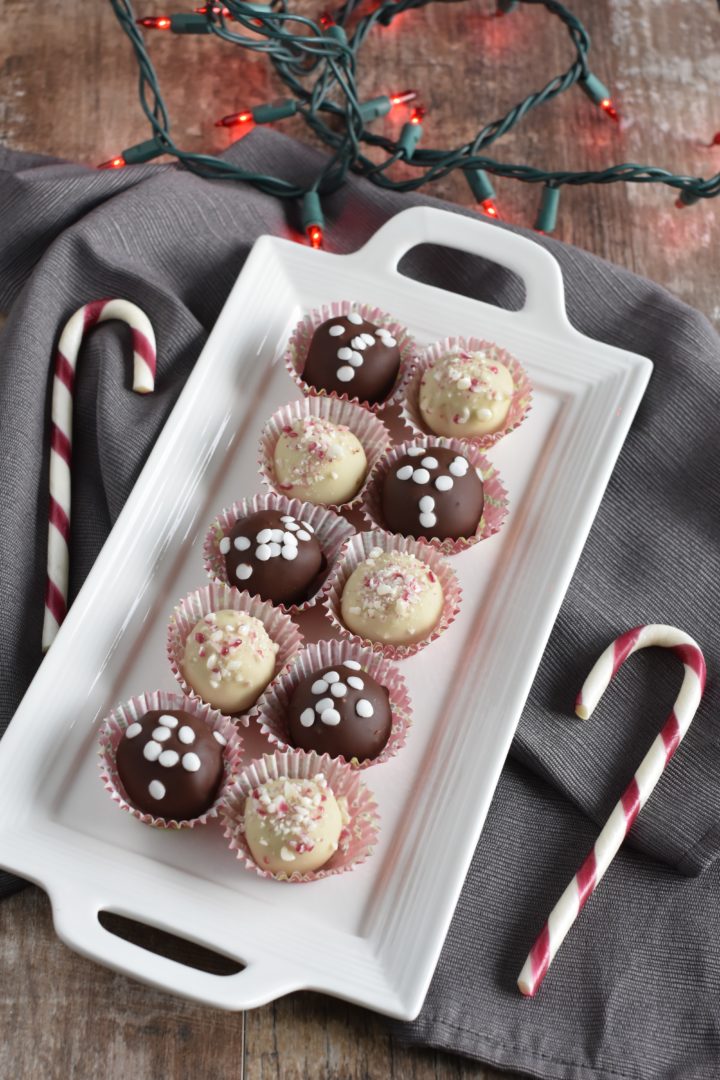
These festive No-Bake Sugar Cookie Truffles are perfect for the holiday season! Made with gluten-free, vegan edible sugar cookie dough and covered in chocolate, these sweet treats can be decorated with your favorite holiday toppings such as crushed candy canes or sprinkles.
Jump to Recipe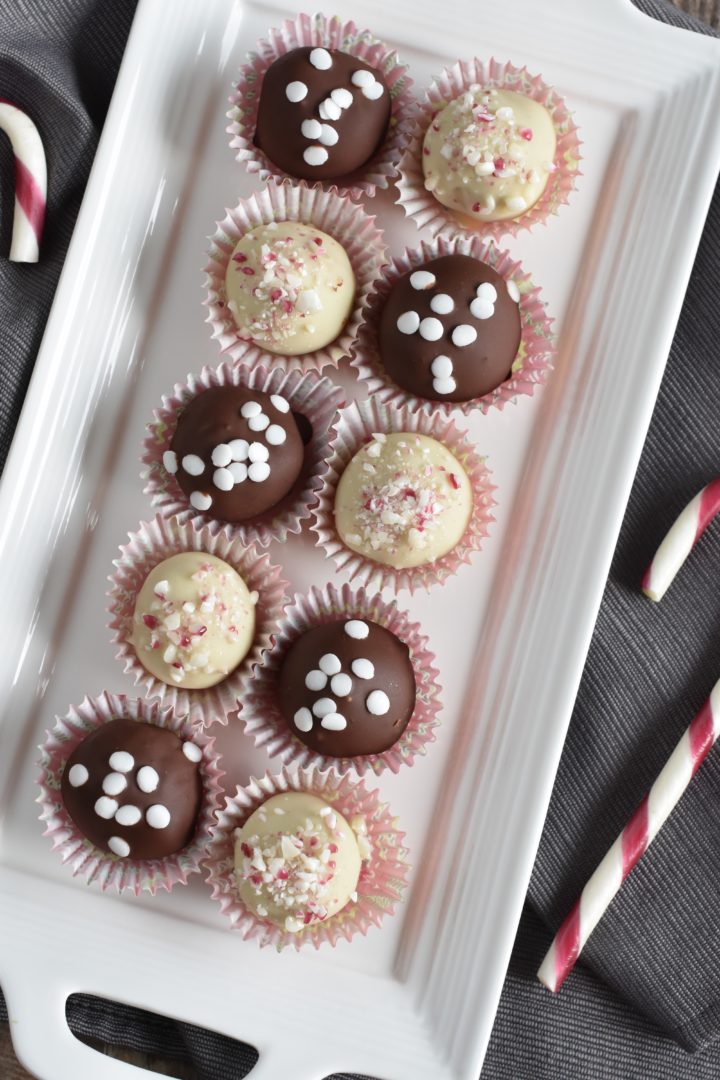
♪ It's the most de-licious time of the year.
There'll be truffles for eating
with candy cane greetings...♫
Sooooooo, I must ask you...what is your favorite holiday song?

Maybe it's a parody like "The 12 Pains of Christmas."
Or maybe it's a traditional carol like "Hark! The Herald Angels Sing."
Or a classic piece like Bing Crosby's "White Christmas."
Or a rock song like Tom Petty's "Christmas All Over Again."
Or a pop anthem like "Last Christmas" by Wham!
Or a rap like Run-DMC's "Christmas in Hollis."

Or a tearjerker like Dan Fogelberg's "Same Old Lang Syne."
Or maybe you celebrate Hanukkah and your fave happens to be "The Hanukkah Song" by Adam Sandler.
Whatever your favorite is, get ready to crank it up while you make some of these delicious truffles. 🙂
Ingredients you'll need
- Organic Cane Sugar
- Unsweetened Applesauce
- Pure Maple Syrup
- Pure Vanilla Extract
- Gluten-Free, Whole-Grain Oat Flour
- Vegan White Chocolate Chips (such as Nestle® Toll House® Simply Delicious white morsels)
- Vegan Dark Chocolate Chips (such as Enjoy Life dark morsels or Nestle® Toll House® Simply Delicious dark chocolate morsels)
- Coconut Oil
- Toppings of Choice (I used Supernatural's White Sequins and Wholesome's Organic Candy Canes)
Do I have to use both white and dark chocolate?
No, you do not have to use both kinds of chocolate.
If you would like to make these sugar cookie truffles with all white chocolate or all dark chocolate, simply double the amount of that particular chocolate and use the full amount of the coconut oil for melting.
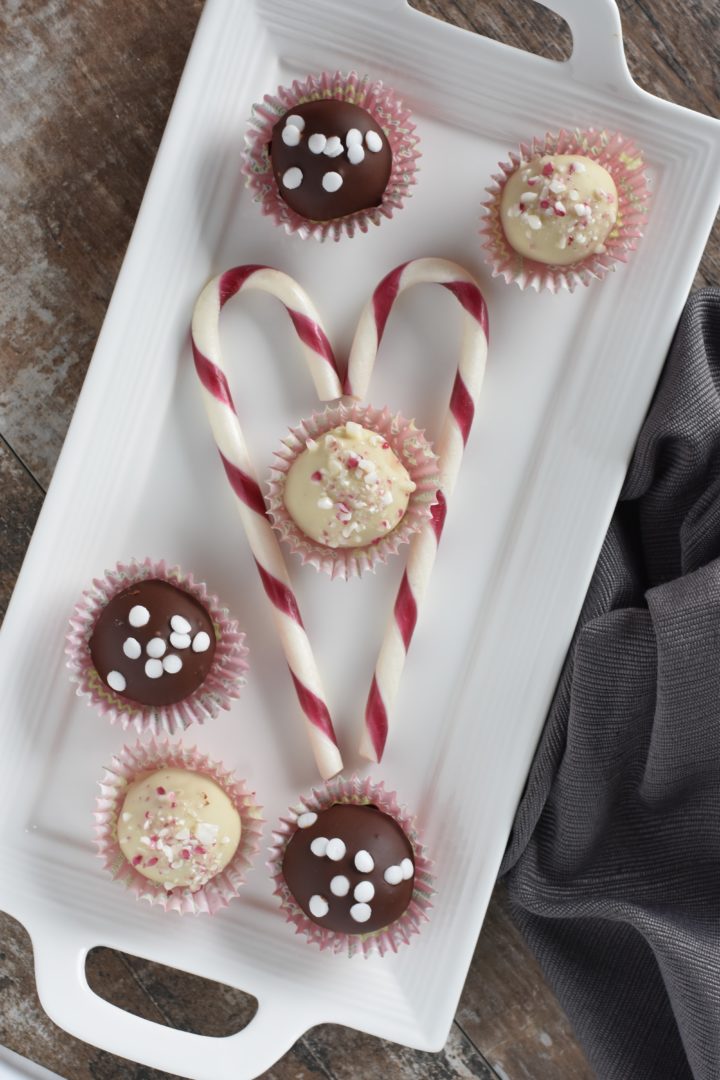
How do you "crush" the candy canes for the topping?
I used a food chopper and pulsed a few times until there were tiny candy cane pieces. I only needed one candy cane for the nine white chocolate covered truffles, so if you want to make them all with white chocolate, you should use two candy canes.
You can use the pulse setting of a regular food processor too. Either way, just be sure not to pulverize them into powder. 😉
If you don't have a food chopper or food processor, you can place the candy canes into a zip top bag, cover with a kitchen towel, and carefully use a food mallet to crush them.
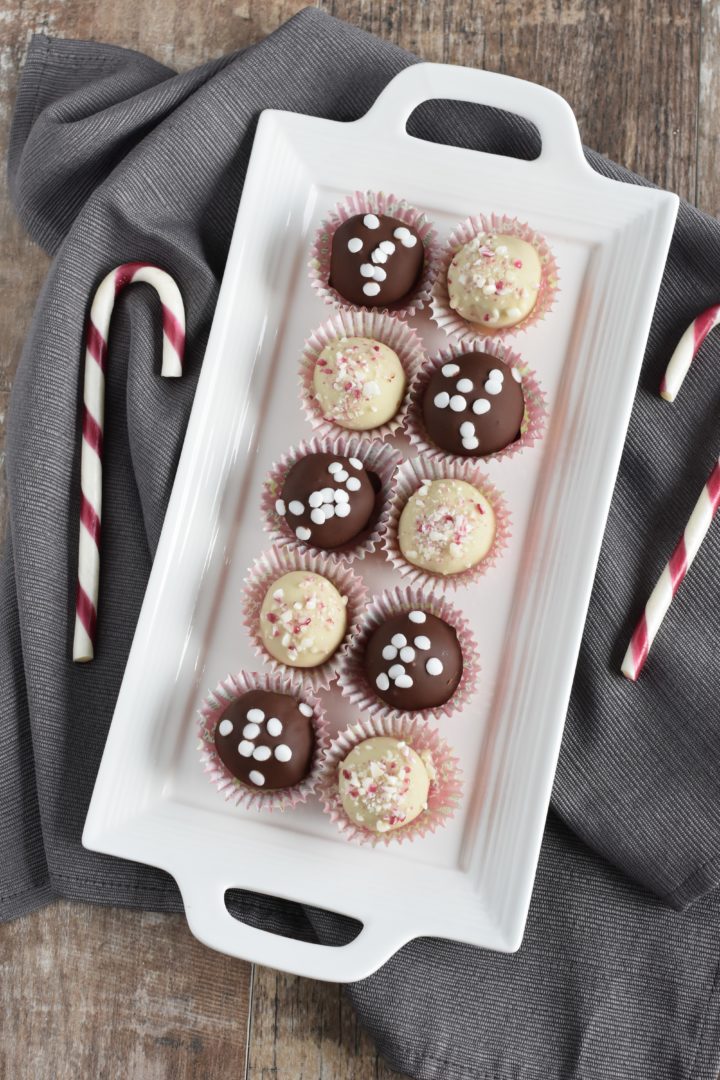
How to make no-bake sugar cookie truffles
In a mixing bowl, stir together cane sugar, applesauce, maple syrup and vanilla extract. Then, stir in the oat flour.
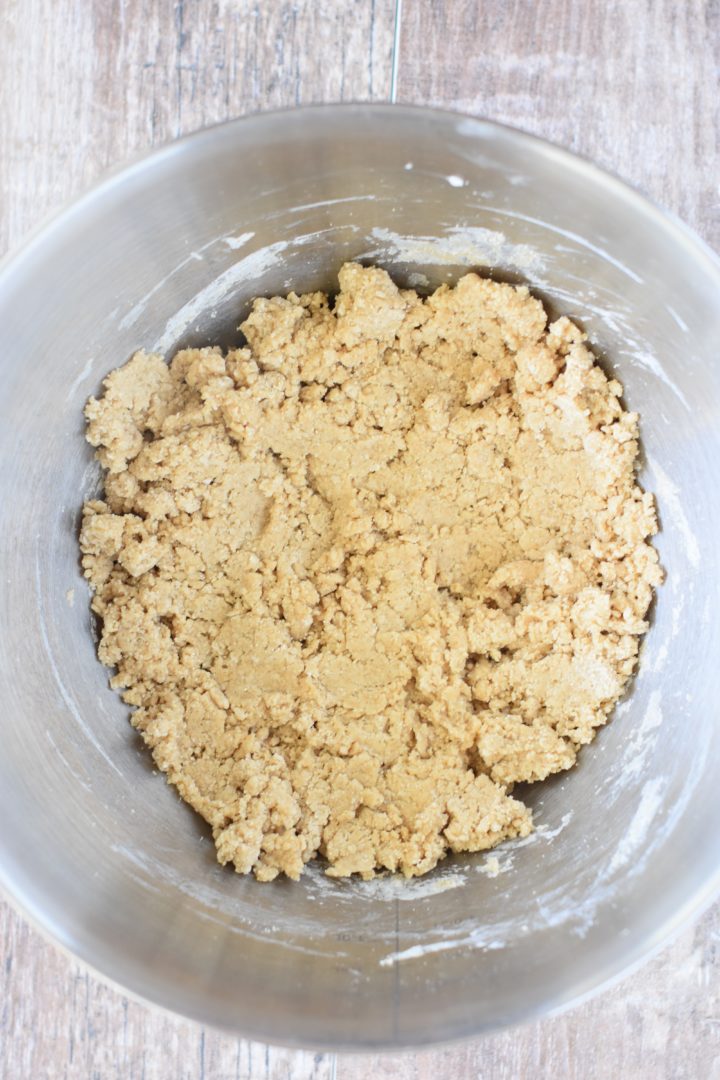
When you make traditional sugar cookies, you would typically mold the dough into a big ball and roll it out to make the cut-outs. But to make these mini edible versions, instead you're going to mold a bunch of smaller balls.
Here's the best way to go about it:
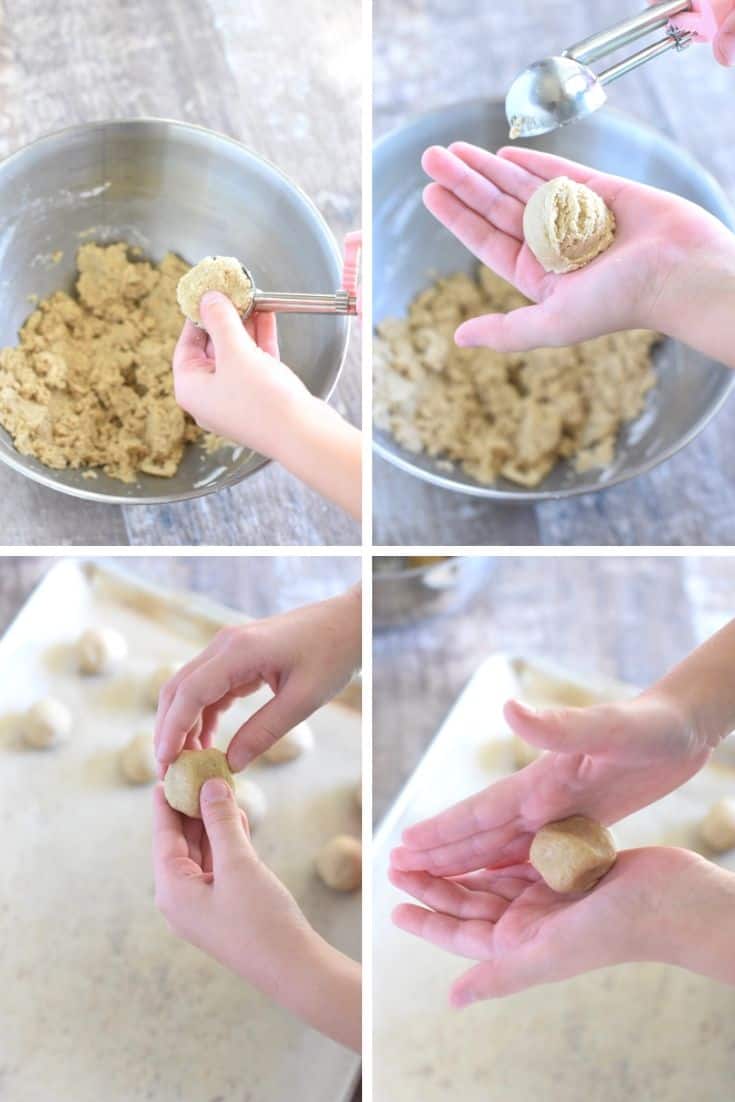
First, use a small cookie scoop (I used a size 60 disher) to scoop some dough out of the bowl and pack the dough into the scoop with your fingers (as demonstrated in top left photo below).
Press the cookie scoop to drop the dough into your hand (as demonstrated in top right photo below).
Mold the dough by pressing it with your fingers as if you were molding clay (as demonstrated in bottom left photo below).
Roll the dough between the palms of your hands to shape it into a ball (as demonstrated in bottom right photo below).
Keep in mind that since it wasn't preformed and rolled out, the dough can be crumbly, especially when you get to the last of it.
Therefore, you might have to gather some with your hands and put it in the cookie scoop to form it.
Place each formed dough ball onto a parchment-lined baking sheet. Freeze for 10 minutes.
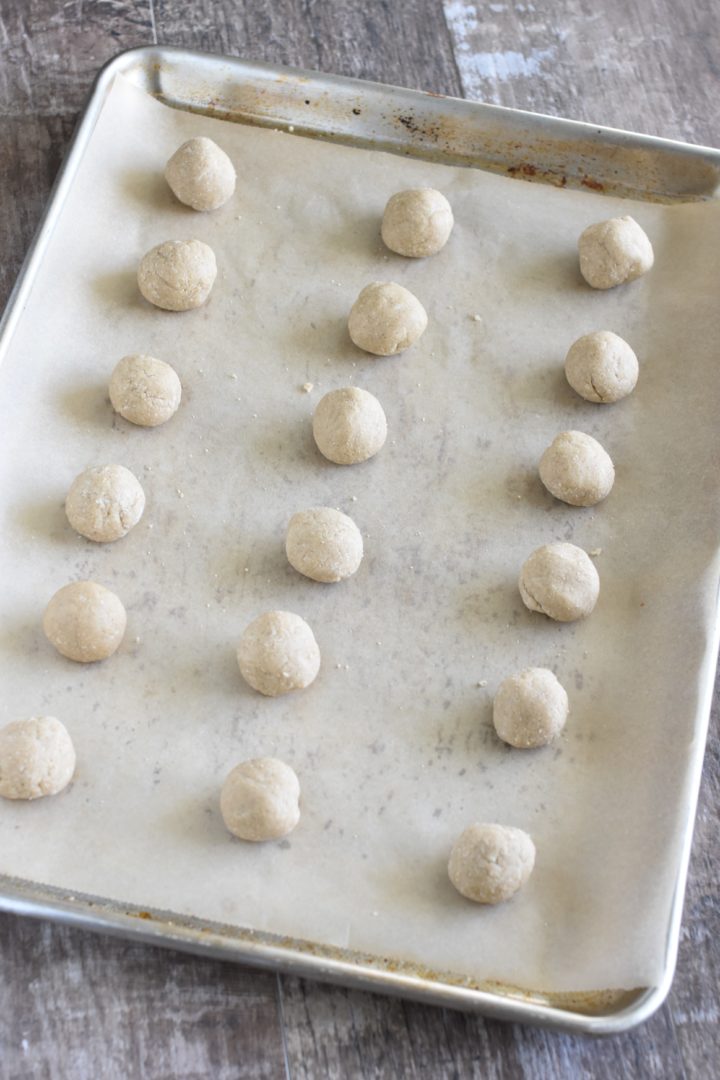
While the dough balls are in the freezer, make the chocolate coating.
Add white chocolate chips to a small microwave-safe bowl and dark chocolate chips to another small microwave-safe bowl.
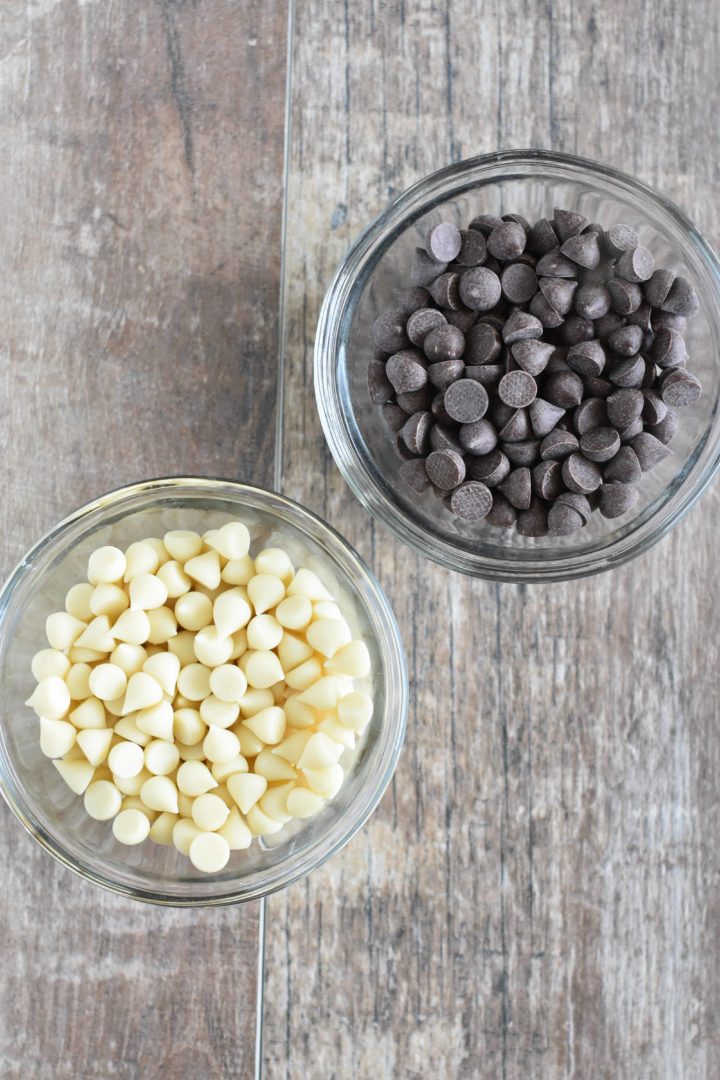
Add coconut oil to each bowl. Microwave the dark chocolate in 20-second intervals, stirring between each one, until chocolate is smooth.
Microwave the white chocolate in 10-second intervals, stirring in between, until smooth. The white chocolate takes less time to melt than the dark chocolate, so be sure to keep an eye on it.

Set both bowls of chocolate aside until ready to use. The chocolate needs to cool down slightly so that the dough balls don’t melt when you dip them.
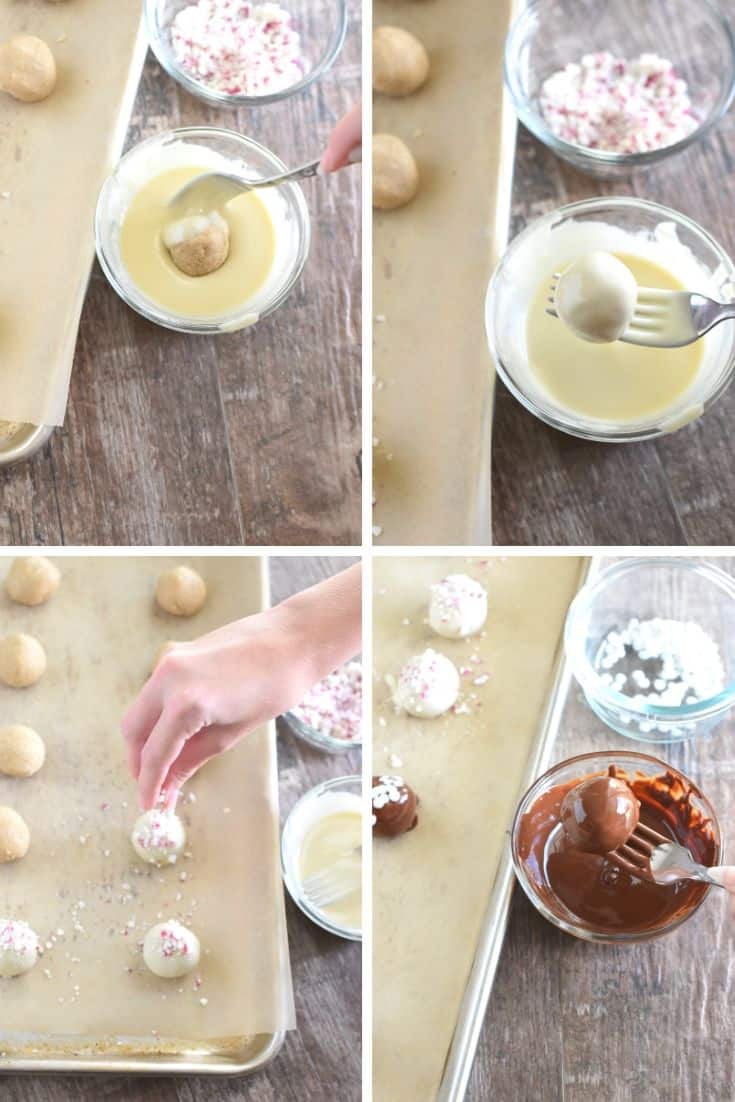
Once the dough balls have been in the freezer for 10 minutes and you are ready to dip them in the chocolate, begin by placing one dough ball onto a fork. Dip the dough ball into the melted chocolate (as demonstrated in top left photo below).
Roll the dough ball around and make sure it is fully coated (as demonstrated in top right photo below)
To remove excess dripping chocolate, gently tap the fork against the bowl. You can also use a special tool designed for dipping items into chocolate instead.
Place the chocolate-coated dough ball onto the parchment-lined baking sheet. While it is still wet, sprinkle with your toppings of choice (as demonstrated in bottom left photo below).
Once you've covered half of the dough balls in white chocolate and your toppings, you can move on to the dark chocolate and repeat the process (as demonstrated in bottom right photo below).
Place the tray of coated and decorated dough balls into the freezer for 10 minutes.
Enjoy! ♥
Love no-bake treats? You might also enjoy:
Chocolate Chip Cookie Dough Bites
Double Chocolate Chip Cookie Dough Bites
Almond Butter Cookie Dough Bites
No-Bake Sugar Cookie Truffles
Ingredients
- 6 tablespoon organic cane sugar
- ¼ cup unsweetened applesauce
- 3 tablespoon pure maple syrup
- 2 teaspoon pure vanilla extract
- 2 cups gluten-free, whole-grain oat flour (*see notes)
- ⅓ cup vegan white chocolate chips (such as Nestle® Toll House® Simply Delicious white morsels)
- ⅓ cup vegan dark chocolate chips (such as Enjoy Life dark morsels or Nestle® Toll House® Simply Delicious dark chocolate morsels)
- 1 ½ teaspoon coconut oil, divided
- Toppings of choice (I used Supernatural's White Sequins and Wholesome's Organic Candy Canes which I crushed using a food chopper).
Instructions
- Line a baking sheet with parchment paper and set aside. In a mixing bowl, stir together cane sugar, applesauce, maple syrup and vanilla extract. Then, stir in the oat flour.
- Use a small cookie scoop to **scoop some dough out of the bowl and pack the dough into the scoop with your fingers. Press the cookie scoop to drop the dough into your hand. Mold the dough by pressing it with your fingers as if you were molding clay. Roll the dough between the palms of your hands into a round ball (see photos in the post above for reference). Place each formed dough ball onto a parchment-lined baking sheet. Freeze for 10 minutes.
- While the dough balls are in the freezer, make the chocolate coating. Add white chocolate chips to a small microwave-safe bowl and dark chocolate chips to another small microwave-safe bowl. Add ¾ teaspoon coconut oil to each bowl.
- Microwave the dark chocolate in 20-second intervals, stirring between each one, until chocolate is smooth.
- Microwave the white chocolate in 10-second intervals, stirring in between, until smooth. The white chocolate takes less time to melt than the dark chocolate, so be sure to keep an eye on it.
- Set both bowls of chocolate aside until ready to use. The chocolate needs to cool down slightly so that the dough balls don’t melt when you dip them.
- Once the dough balls have been in the freezer for 10 minutes and you are ready to dip them in the chocolate, begin by placing one dough ball onto a fork. Dip the dough ball into the melted chocolate. Roll the dough ball around and make sure it is fully coated. To remove excess dripping chocolate, gently tap the fork against the bowl. Place the chocolate-coated dough ball onto the parchment-lined baking sheet. While it is still wet, sprinkle with your toppings of choice (see photos in the post above for reference).
- Once you've covered half of the dough balls in white chocolate and your toppings, you can move on to the dark chocolate and repeat the process.
- Place the tray of coated and decorated dough balls into the freezer for 10 minutes.
(Please refer to the post above for instructional photographs and other helpful information for this recipe)
Suggested Equipment/Tools
Notes
©Watch Learn Eat. All content and images are copyright protected. Recipes and images are not to be used or republished without prior permission. If you adapt this recipe, please re-write the recipe in your own words, and link back to this post for the original recipe.





Christie
I love these no bake sugar cookie truffles! They sound so good and no baking is definitely a plus!!
Sherri Hall
Thanks so much, Christie! 🙂