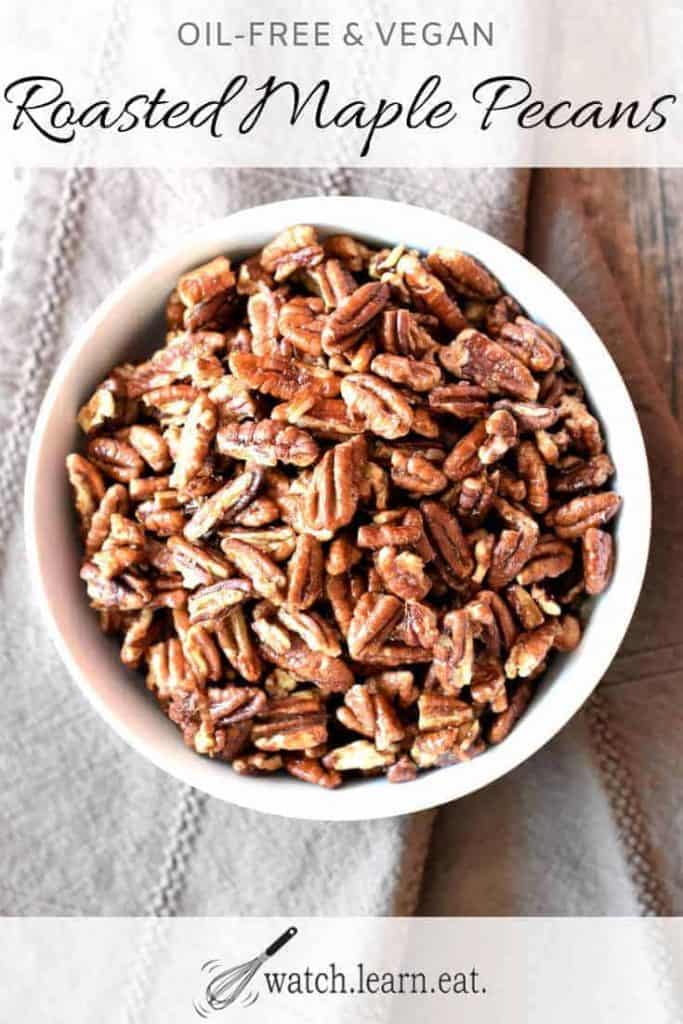
These oil-free Oven-Roasted Maple Pecans are a delicious gluten-free, dairy-free snack that’s super easy to make. With the perfect balance of sweet and salty, these roasted pecans are irresistible. And, this roasted nut recipe only requires 4 ingredients and just 15 minutes to make! These maple glazed pecans are great for gifting too!
Jump to Recipe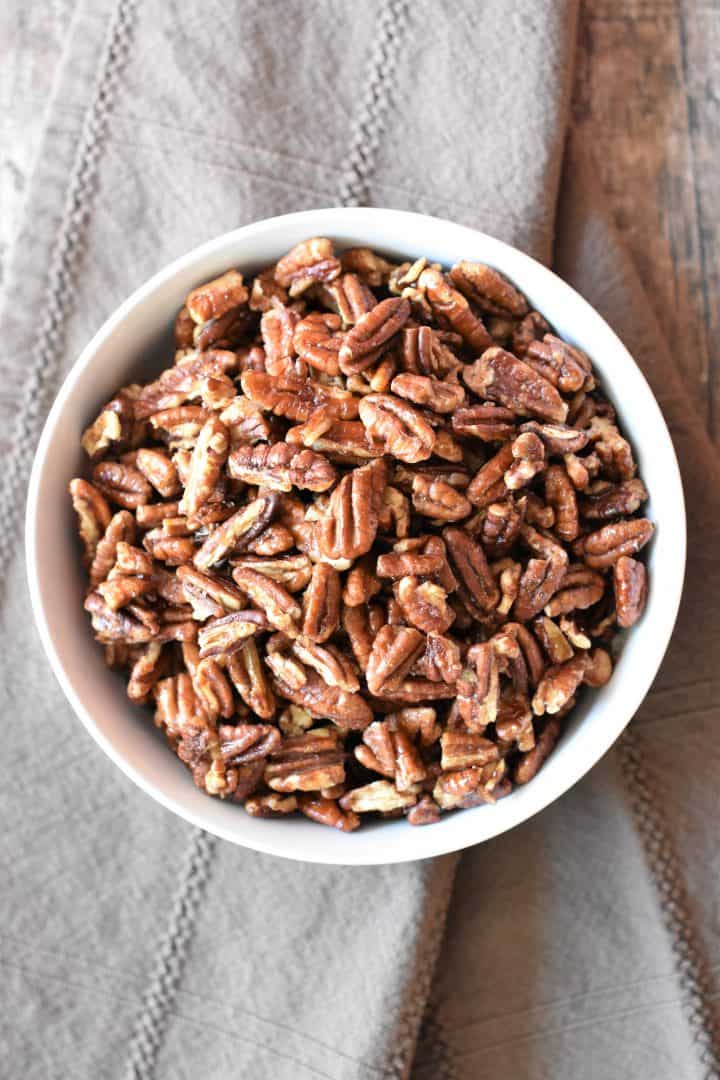
♪ Sometimes I feel like a nut, sometimes I…
Oh, I can’t even finish that line because I would just be lying.
I always feel like a nut! In fact, I can’t think of a time where I didn’t feel like a nut...or 2, or 3, or 4, or 50!
That is, especially when they are covered in maple syrup with a touch of cinnamon and sea salt.
If I told you that I’m addicted to these sweet and salty pecans, it would be an understatement. 😉
I seriously can't. Stop. Eating. Pecans.
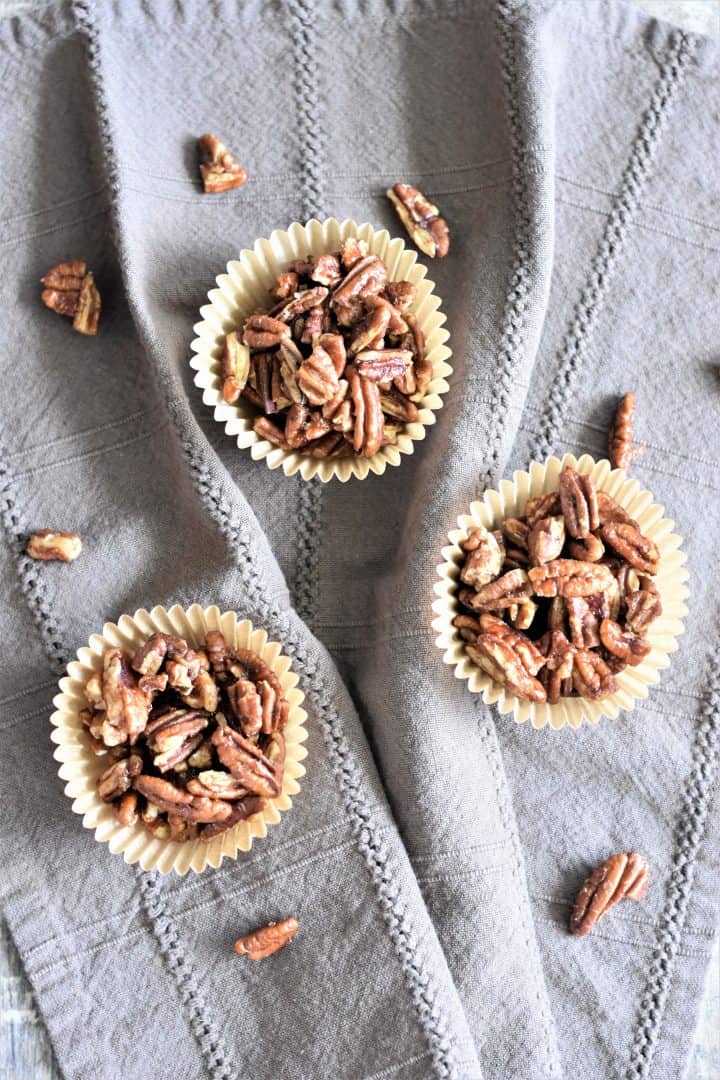
But for real, I definitely ate way more than the recommended serving of these roasted pecans.
Who makes up these serving sizes anyway? Obviously, not someone who has tried these nuts!
Seriously, I'll take a few out of jar and put the lid on. Then walk out of the kitchen.
But somehow, I'll find myself being pulled back in the kitchen by some indescribable force of gravity.
Next thing you know, that lid is off and I’m stuffing my face…AGAIN!
"This is the last time!" I command myself. "I’m NOT going to eat them all."
Sure enough, within minutes, all you see are salt remnants and now I have another dish to wash!
Now if I could only cook and bake without having to wash dishes.
But, this is is reality and the reality is that YOU will absolutely LOVE these nuts because they are:
- easy to make in just 15 minutes with only 4 ingredients (salt included).
- oil-free.
- vegan.
- a delicious homemade snack with ingredients you can feel good about!
What kind of pecans work best for this recipe?
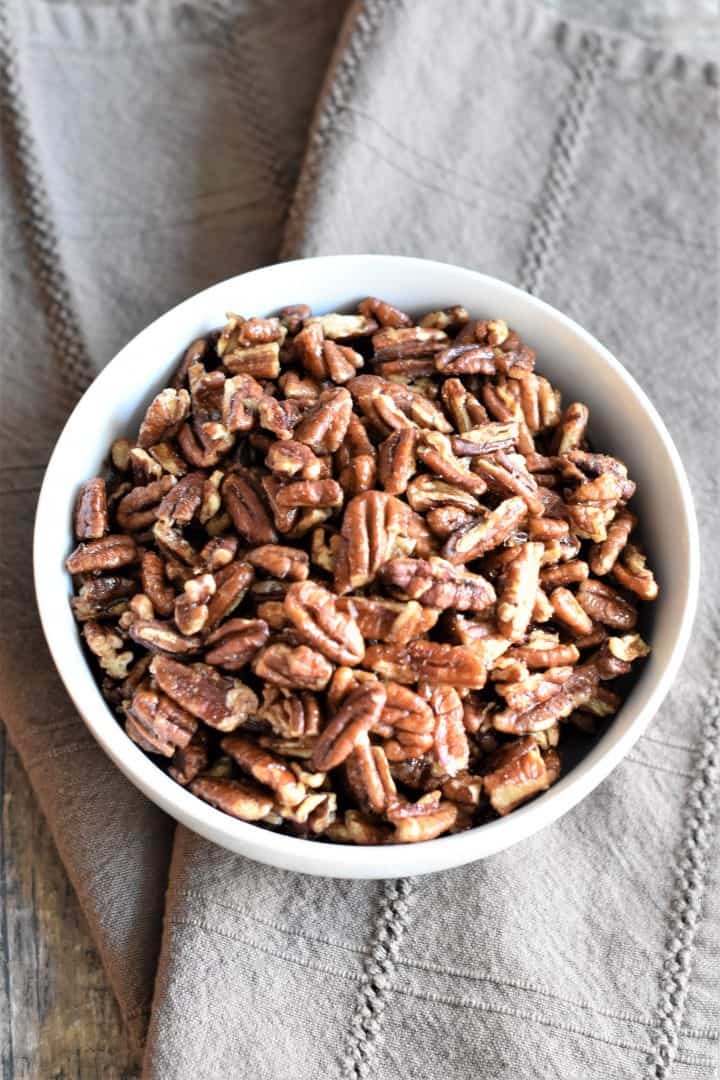
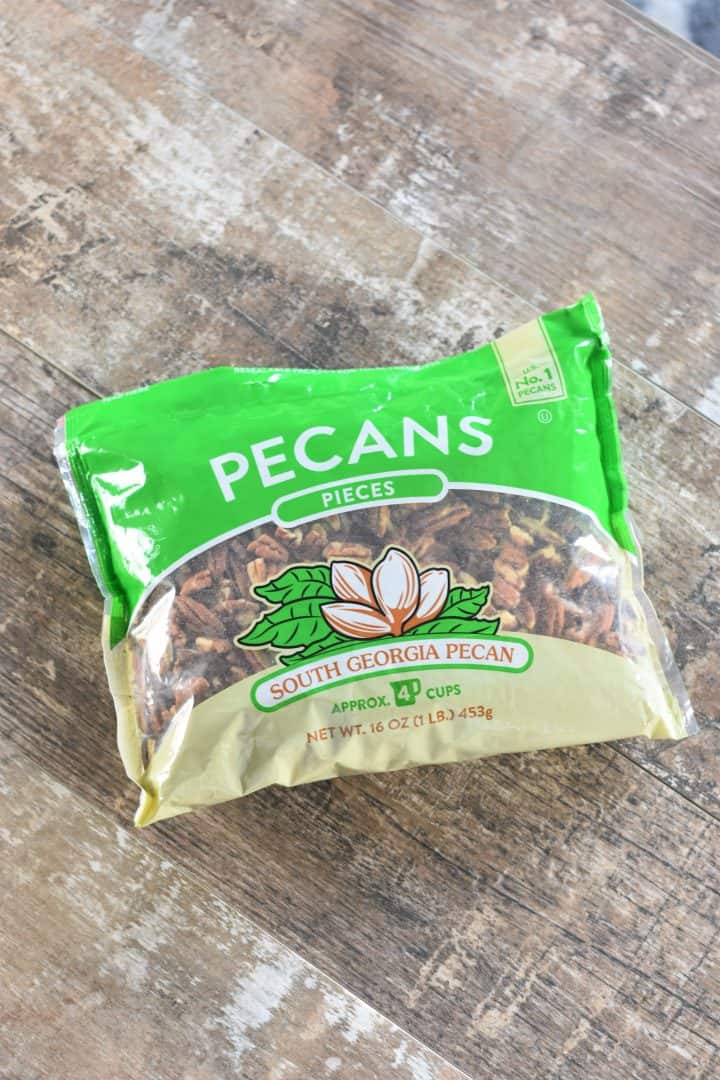
I use pecan pieces instead of halves because I find everything sticks to them better and is more evenly distributed, giving you the right amount of each flavor with every bite.
This is the brand I used (photo below), but you can use any pecan pieces that are similar in size to these.
How to enjoy these pecans
Enjoy these glazed pecans as a morning or afternoon snack. Pack some in your lunch for work.
The great thing is that if, I mean, when you run out, you won’t mind making another batch because it is so quick and easy.
Aside from snacking on them, you can also use these maple pecans as an ice cream topper for your favorite vegan ice cream or even a baked sweet potato.
So, now that your taste buds are tantalized, come on and join me in feeling like a nut today!
How to make these roasted maple pecans
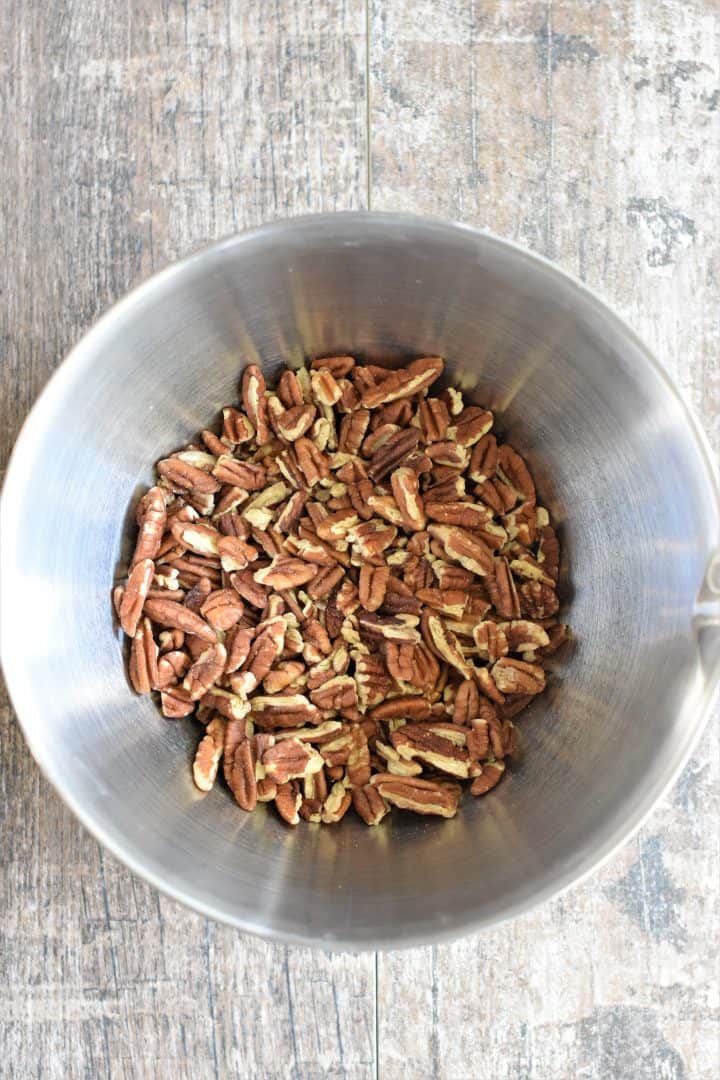
Preheat your oven to 350°F and line a baking sheet with parchment paper. Add pecan pieces to a mixing bowl.
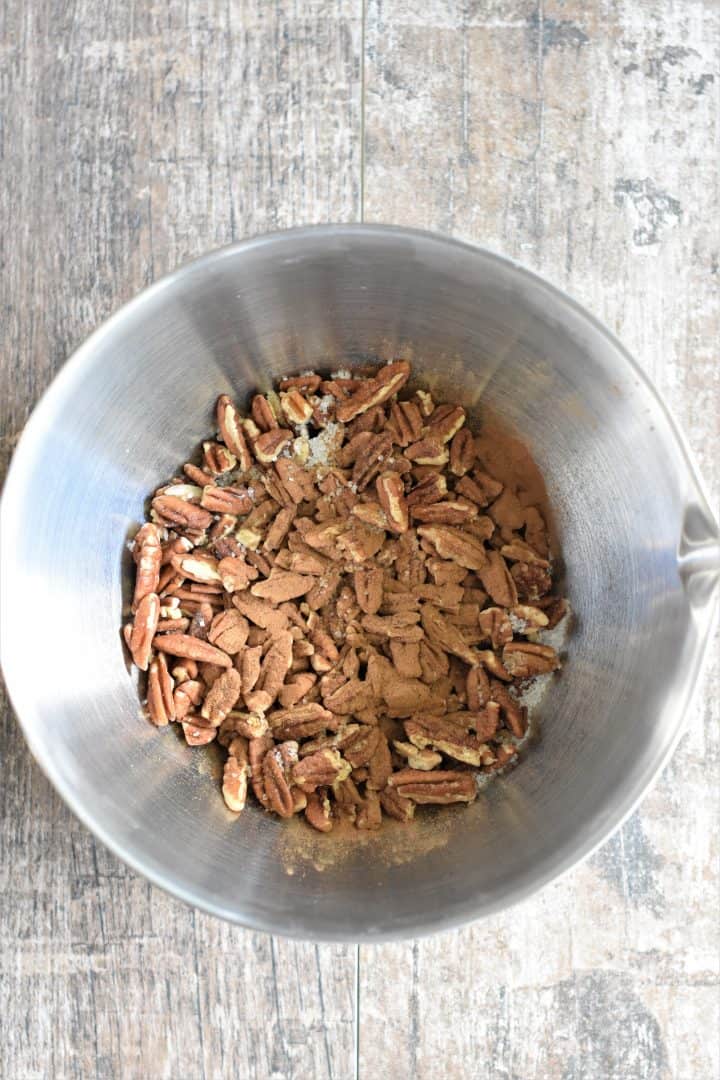
Add cinnamon and salt.
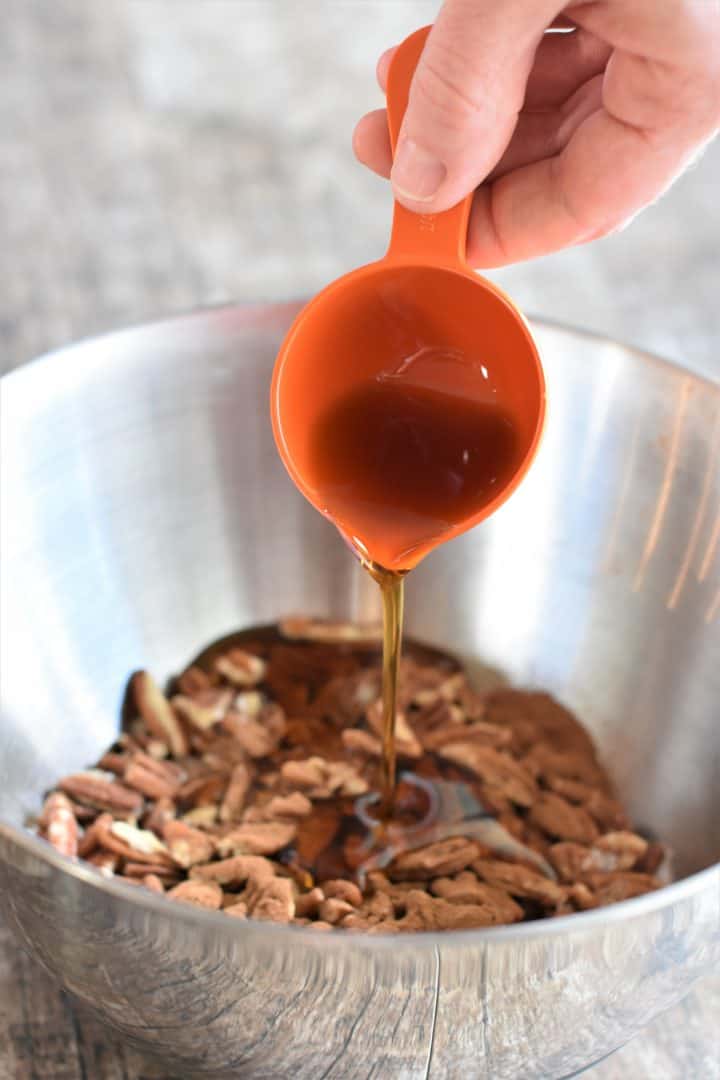
Pour on the maple syrup.
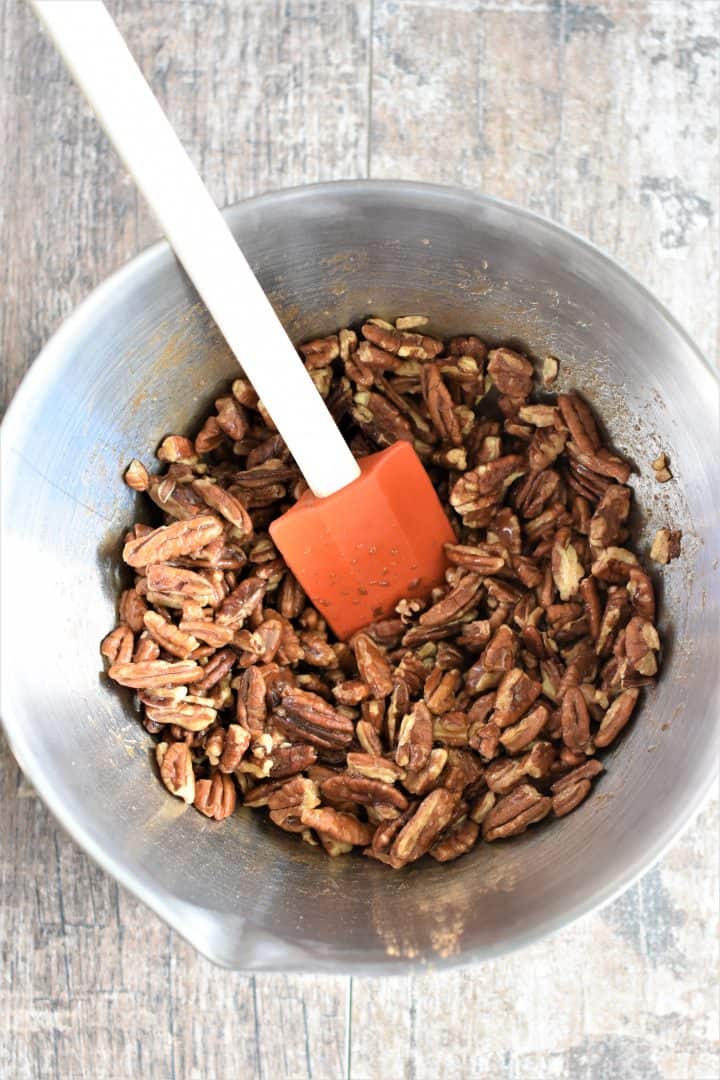
Mix together using a silicone spatula until ingredients are well-combined.
Pour the coated pecans onto the parchment-lined baking sheet, and use the silicone spatula to spread the nuts out evenly in a single layer on the pan.
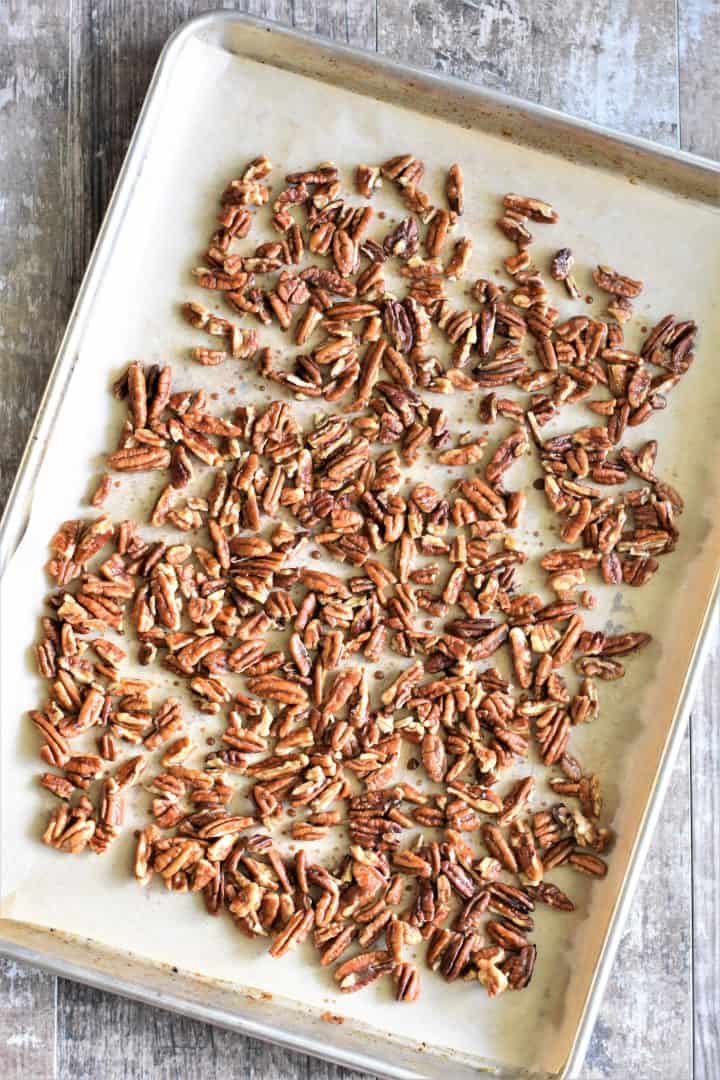
Bake for 10 minutes. After removing from the oven, place the sheet on a heat safe surface and carefully give the nuts a quick stir with the spatula.
To ensure safety, I usually wear my oven mitts when doing so to prevent burns as you will most likely have to hold onto the pan with one hand while stirring with the other.
Allow to cool for 5-10 minutes. Transfer nuts to a serving bowl or storage container.
If you like these candied pecans, you might also enjoy our pumpkin hummus with cinnamon-sugar toasted pecans.
You might also enjoy our sweet and spicy roasted cashews, gluten-free granola and roasted sunflower seeds.
Oven-Roasted Maple Pecans
Ingredients
- 2 cups raw pecan pieces *not pecan halves (see notes below)
- ¼ cup pure maple syrup
- ¾ teaspoon ground cinnamon (I used Ceylon cinnamon)
- ¾ teaspoon sea salt, course or medium grind
Instructions
- Preheat oven to 350°F and line a baking sheet with parchment
paper. - Add pecan pieces followed by cinnamon, salt and maple syrup to a mixing bowl.
- Mix using a silicone spatula until ingredients are
well-combined. - Pour nut mixture onto the parchment-lined baking sheet and
use the silicone spatula to spread the nuts out evenly in a single layer on the
pan. Bake for 10 minutes. - After removing from oven, place the sheet on a heat safe
surface. Carefully give the nuts a quick stir with the spatula. To ensure
safety, I usually wear my oven mitts when doing so to prevent burns as you will
most likely have to hold onto the pan with one hand while stirring with the
other. - Allow to cool for 5-10 minutes.
- Transfer nuts to a serving bowl or storage container. The
nuts will be sticky and some will have to be “lifted” from the paper with the
spatula.
(Please refer to the post above for instructional photographs and other helpful information for this recipe)
Notes
Nutrition
©Watch Learn Eat. All content and images are copyright protected. Recipes and images are not to be used or republished without prior permission. If you adapt this recipe, please re-write the recipe in your own words, and link back to this post for the original recipe.

Nancy
This is a good recipe but bizarrely and unnecessarily long and detailed.
Macy
These are a dangerous snac to have on hand! They are delicious! I thought my kids would just love them but I guess they just aren’t fans of pecans and walnuts (I mixed the two together). Oh well! More for me!!!
Sherri Hall
Thanks Macy! I feel the same way...I am soooo addicted to these and every time I make them, I have to force myself not to eat the whole batch lol. I will have to try using walnuts, that sounds like a great idea as I do love walnuts too. So happy you enjoyed this recipe! Have an awesome rest of your week! 🙂
Dawn @ Words Of Deliciousness
I would love to have these as a snack. They sound delicious!!
Sherri Hall
Thanks so much, Dawn! 🙂