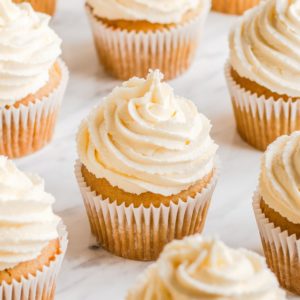
Have you been endlessly searching for the perfect dairy-free vanilla cupcake recipe?
It can feel daunting when you're trying new dairy free recipes or when you're trying a new vegan cupcake recipe, but this cupcake recipe will be one you'll want to add to your rotation!
It's perfect for birthday parties, special occasions, celebrations, and even just right for everyday, weeknight dessert ideas.
Baking gluten free, vegan, easy desserts has never been so easy with or recipes! I
f you love these amazing vegan vanilla cupcakes you're bound to love our other delicious desserts!
Try our reader favorite almond butter cookie dough bites, chocolate nice cream, or our vegan vanilla pudding.
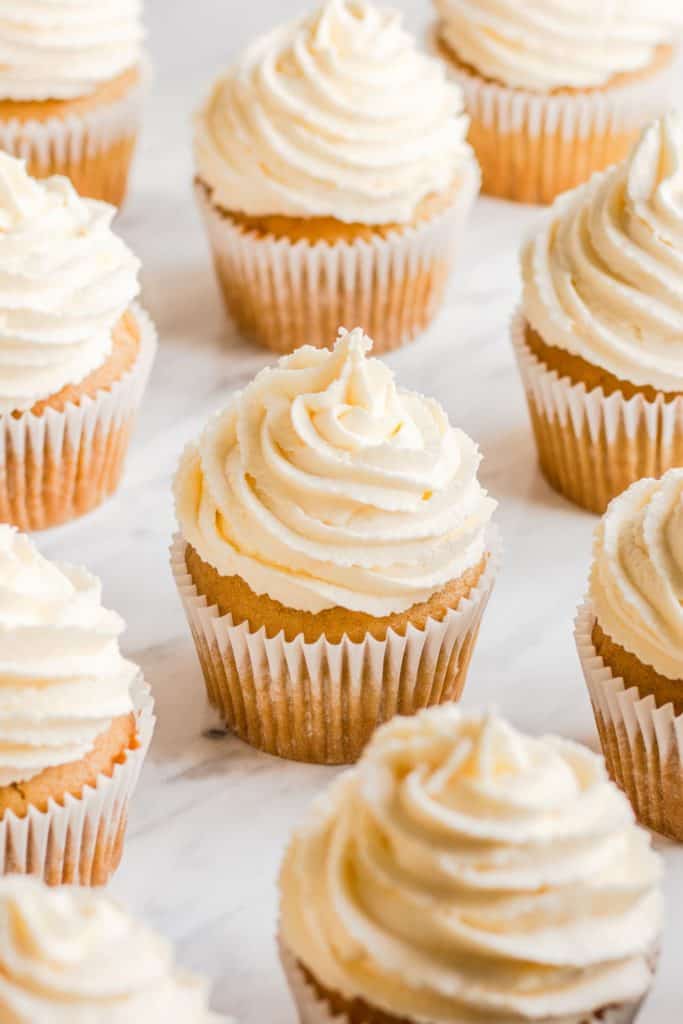
Why you’ll love these vegan cupcakes
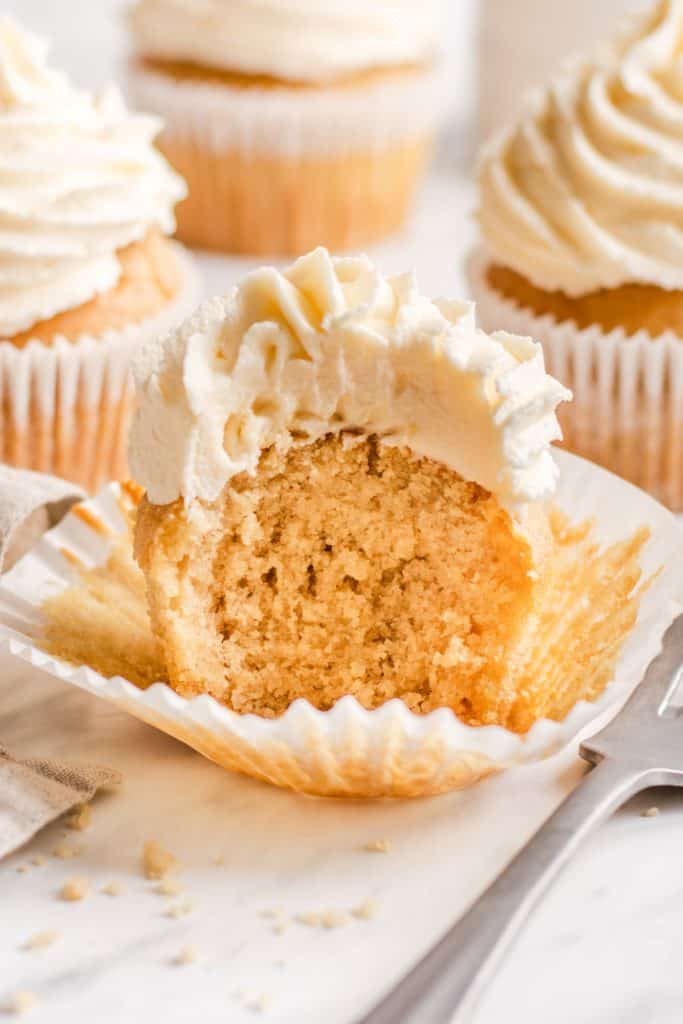
- They are light and fluffy and perfectly moist with the best sweet vanilla flavor.
- These delicious cupcakes are both gluten-free and vegan and can easily be made soy-free and nut-free too.
- These classic vanilla cupcakes can be paired with your favorite frosting and toppings of choice. We love them with our vegan buttercream frosting, dairy-free cream cheese frosting, and the vegan chocolate buttercream we used in our vegan chocolate cupcakes.
- They are the perfect gluten-free cupcakes for any occasion - birthdays, holidays, or just because you deserve a cupcake!
- For another great recipe, try this Lemon Vegan Cake or this Vegan Chocolate Cake!
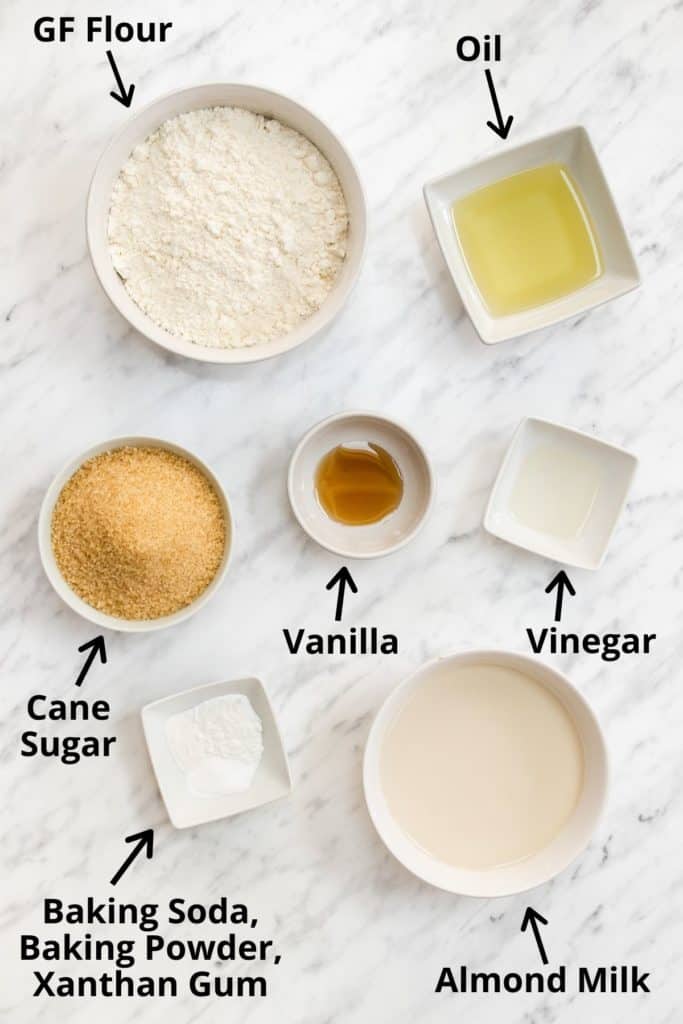
Ingredients you’ll need for the best vegan vanilla cupcake recipe
Get more information on these ingredients, such as quantities, and more helpful information in the recipe card below.
- Gluten-Free All-Purpose Flour
- Baking Powder
- Baking Soda
- Xanthan Gum (omit if your flour mixture already has it in it)
- Unsweetened Plant-Based Milk (I used almond milk)
- Organic Cane Sugar
- Vegetable or Canola Oil
- White Wine Vinegar
- Vanilla Extract
How to make gluten-free dairy-free cupcakes
Preheat your oven to 350° F and line a cupcake/muffin tin with 12 cupcake liners.
Add all of the wet ingredients to a large mixing bowl, and whisk thoroughly to combine.
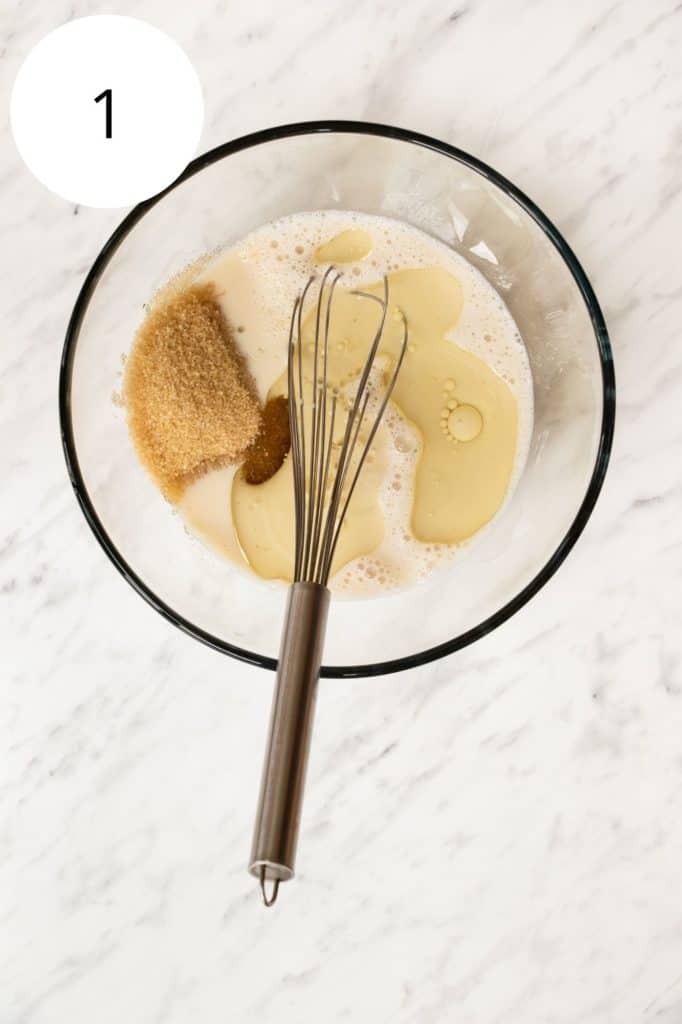
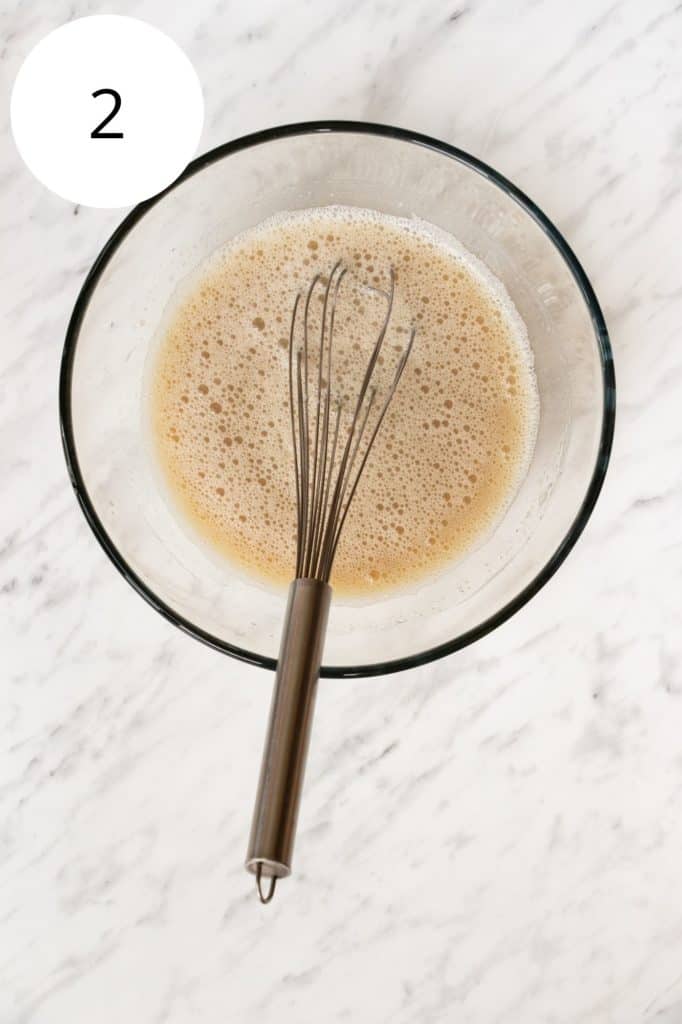
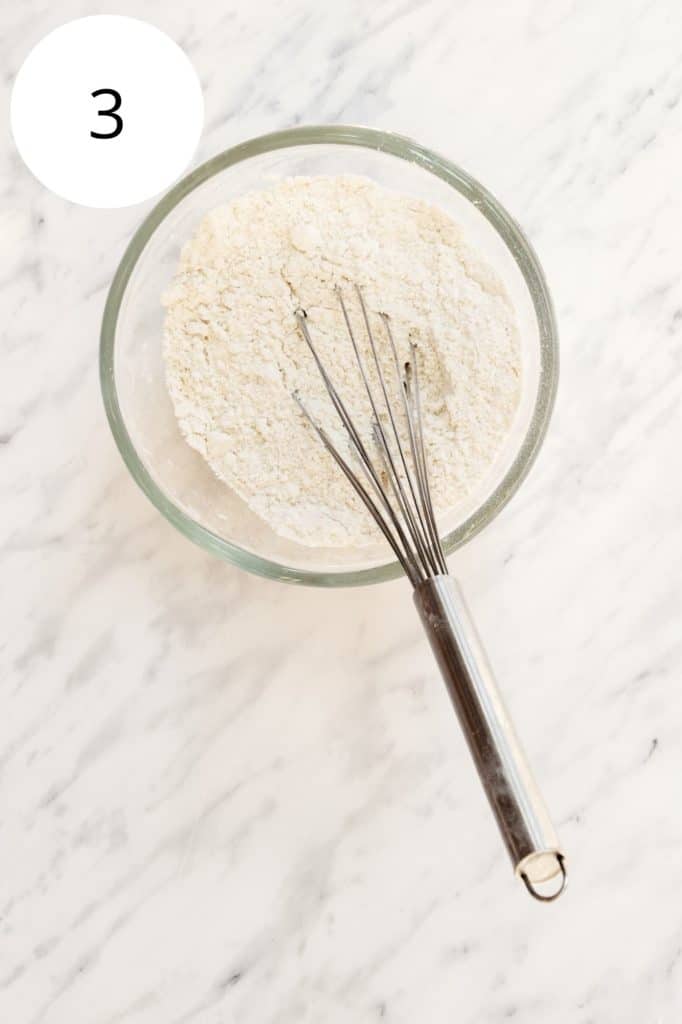
In a separate bowl, whisk together the dry ingredients.
Sift the whisked flour mixture into the bowl with the wet ingredients and stir or whisk to combine.
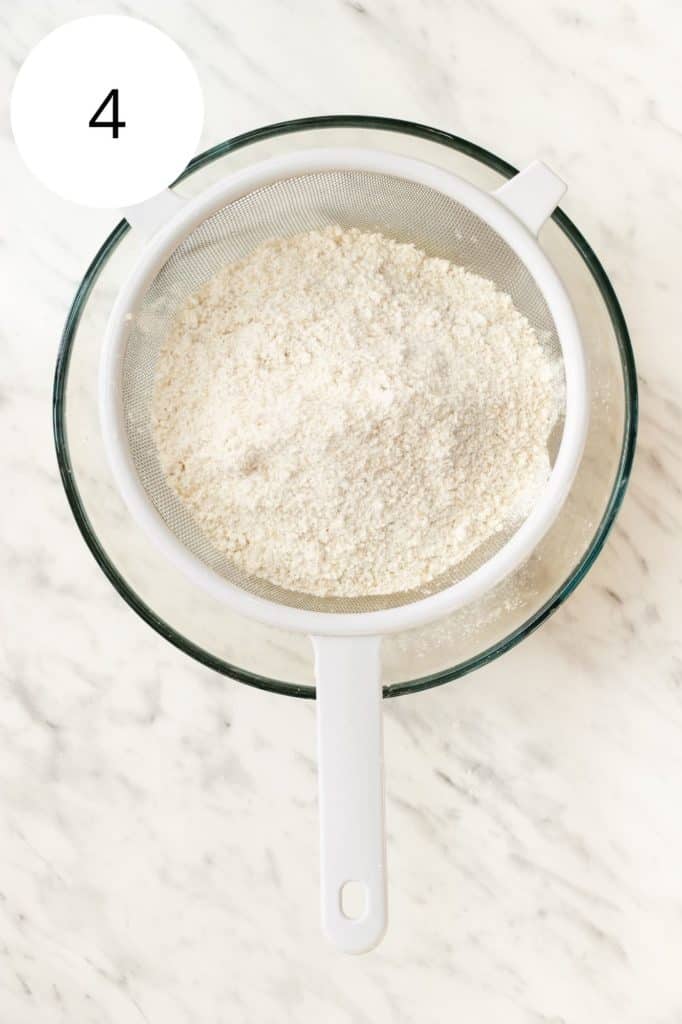
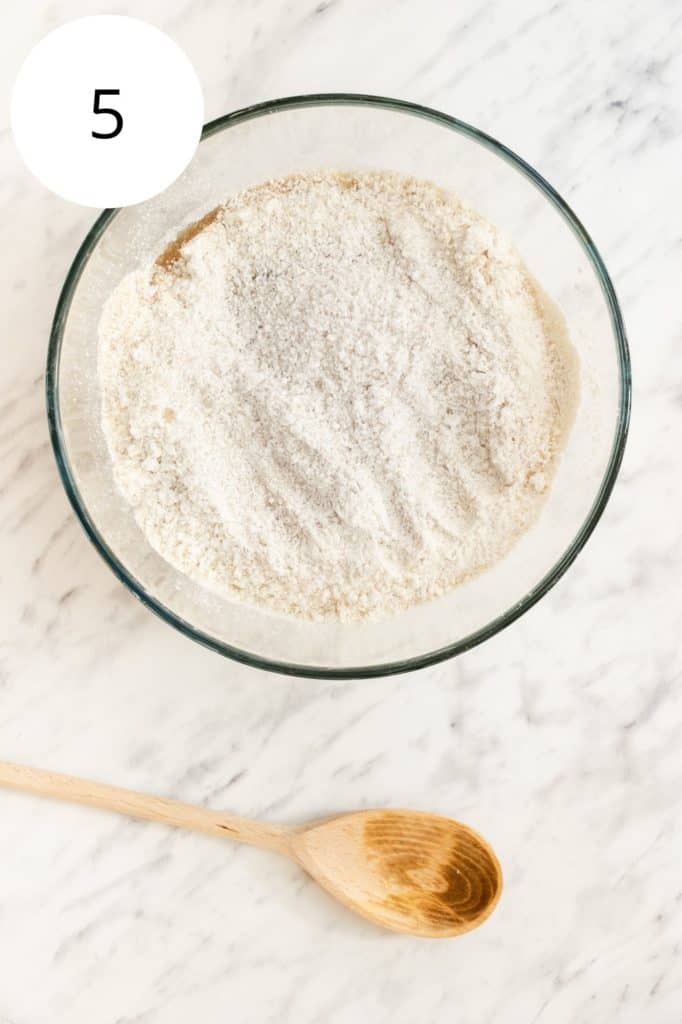
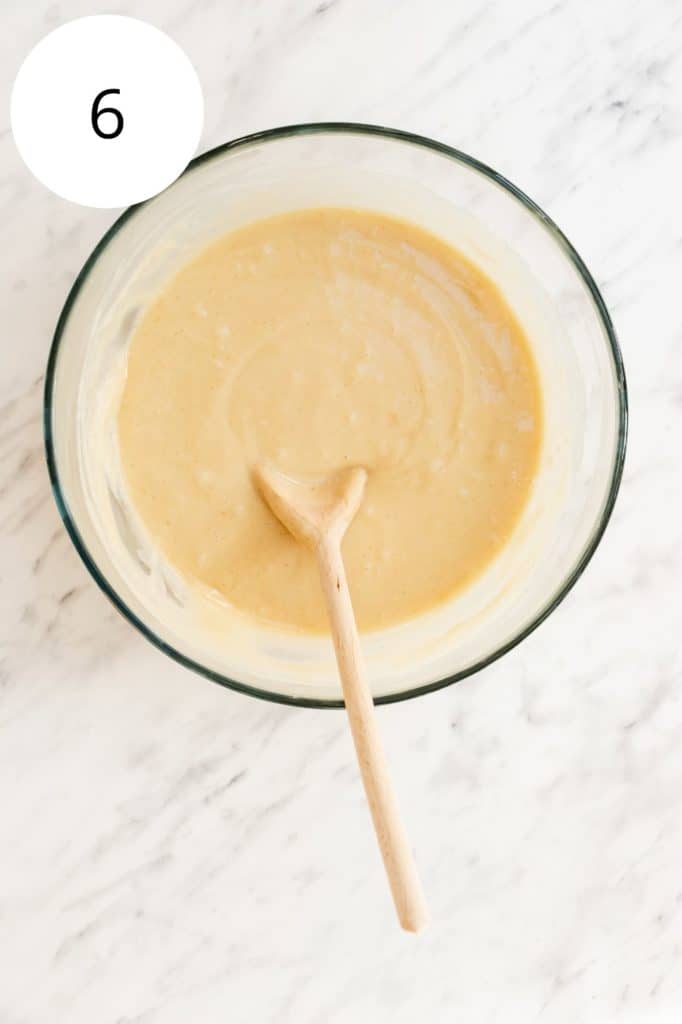
Distribute the mixture evenly in the cupcake wrappers. Each should be approximately ¾ of the way full.
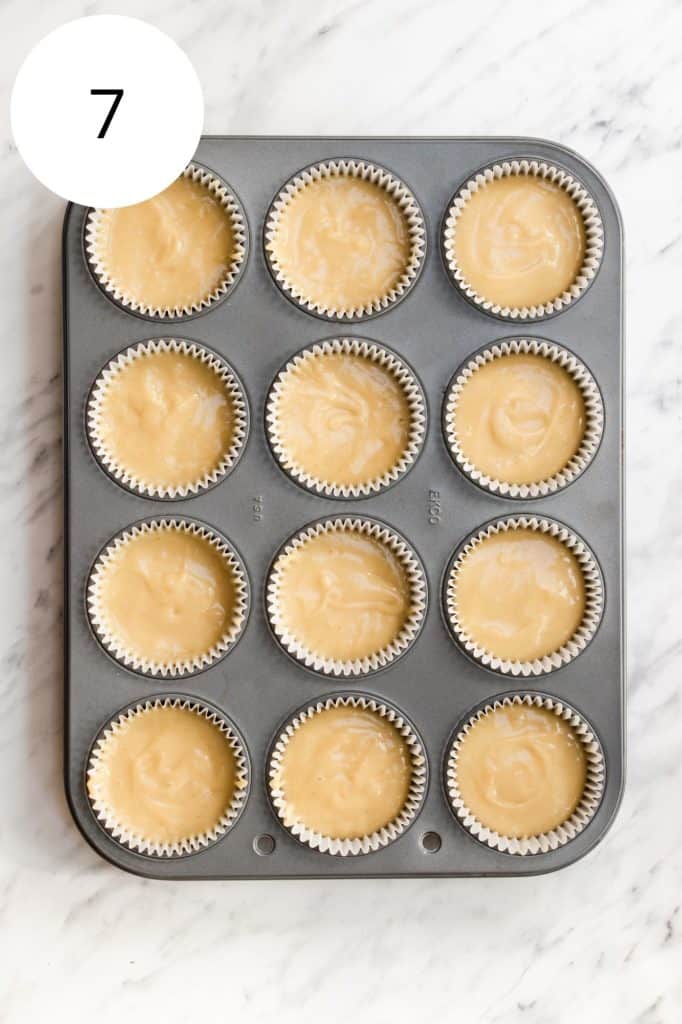
Bake for 20-25 minutes or until a toothpick poked into the center of a cupcake comes out clean.
Enjoy as desired, with or without dairy-free buttercream frosting.
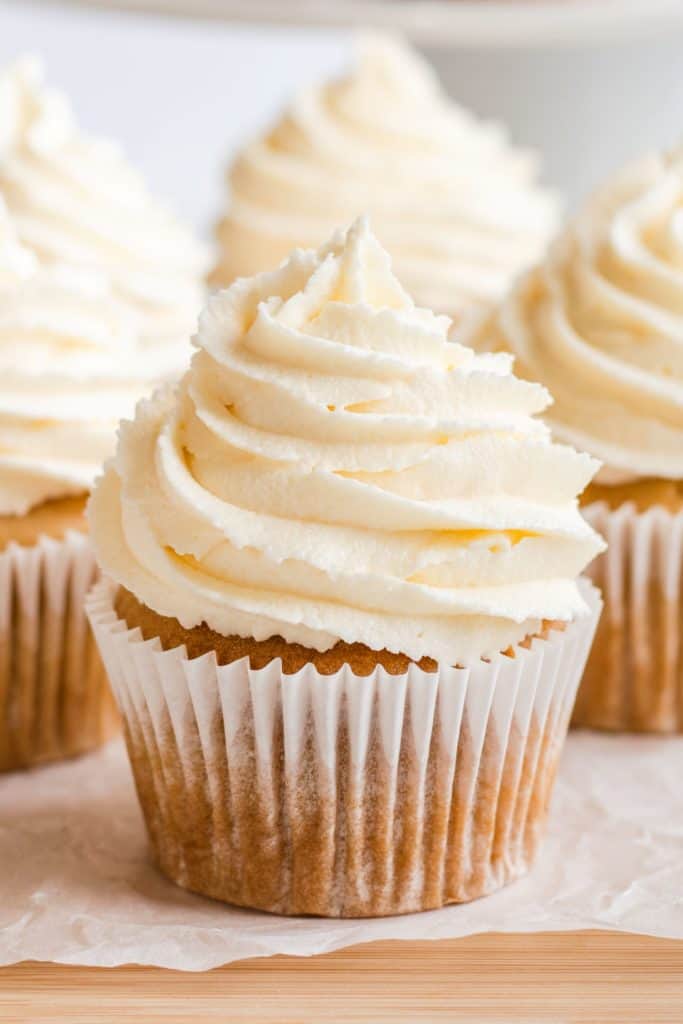
Frosting ideas
These vanilla cupcakes are a truly tasty treat. You can enjoy them naked all by themselves.
However, if you're a fan of frosting, here are some delicious frosting ideas that would go perfectly on top of these cupcakes:
- Vegan Vanilla Buttercream Frosting
- Vegan Cream Cheese Frosting
- Chocolate Frosting
- Strawberry Frosting
- Confetti Frosting
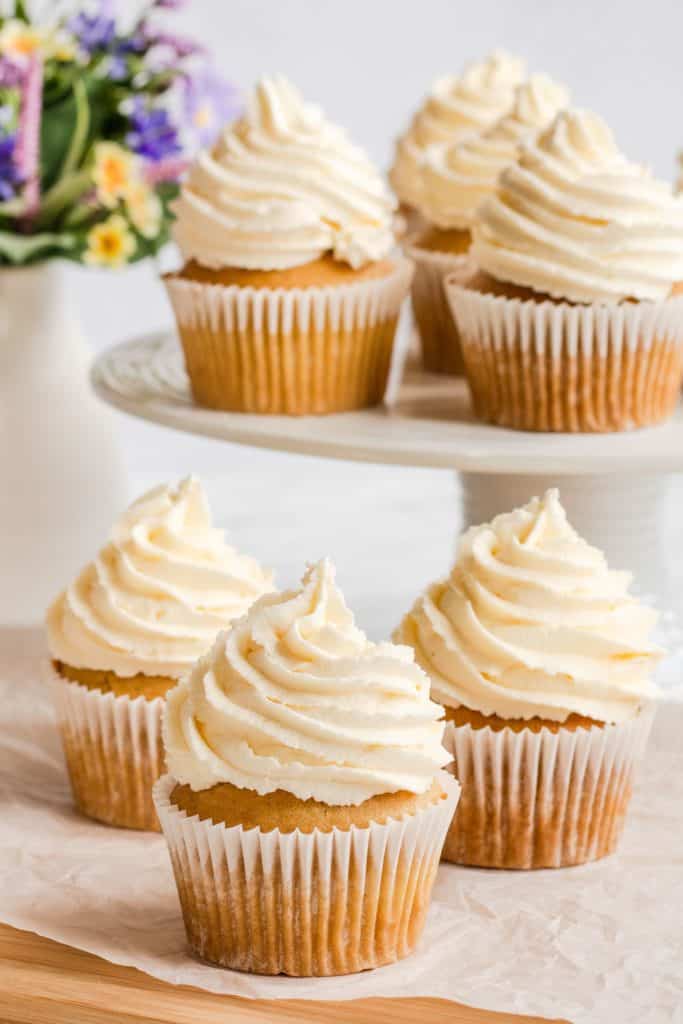
Fantastic cupcake tips
- Use the spoon and level method to measure the flour. Use a spoon to gather the flour and place in the measuring cup, filling it all the way to the top and allowing it to overflow. Then, use the back of a knife to level the top off.
- Allow the cupcakes to first cool in the muffin tin for 10 minutes before transferring to a wire cooling rack.
- Be sure to wait until the cupcakes have completely cooled before icing them.
- It’s best to ice the cupcakes right before serving them, but you can store them with the frosting if needed. They are best used within 3 days this way. Just be sure that your airtight container is deep enough so that the frosting doesn't get squished when you close the lid.
- You can use an electric mixer or stand mixer with the paddle attachment to mix the cupcake batter for fluffy cupcakes.
- Due to variations in brands/ingredients, the batter may yield between 12 and 16 cupcakes. If you have extra, you can line a second muffin tin with additional cupcake wrappers and bake both pans side by side in the oven on the center rack. If you don't have a second muffin tin or your muffin tins don't fit side by side, you can store the batter in the refrigerator until the first batch is done and then bake the additional cupcakes separately. Keep in mind that they may not need as much time to bake since there will only be a few of them. Therefore, check for doneness around 15 minutes.
- I also suggest checking the doneness of your cupcakes periodically the first time that you make this easy recipe, as one oven temperature can vary slightly compared to another. Once you've made this cupcake recipe, you'll know the optimal baking time for these tasty treats.
- If you have difficulty putting equal amounts of cupcake batter in your lined cupcake tins, I like to use an ice cream scoop to transfer the raw cupcake batter to the cupcake liners in the cupcake pan.
- To ensure your fantastic vegan vanilla cupcakes last as long as possible, make sure to use the storage tips that we share below!
Variations and substitutions
- To make the cupcakes soy-free, use a soy-free oil such as canola.
- To make the cupcakes nut-free, use a nut-free plant-based milk such as soy or oat.
- I used almond milk, but you can use any delicious dairy-free milk such as soy milk, oat milk, cashew milk, etc. I have found that almond milk gives the most moist and fluffy cupcakes in my opinion. But use whatever dairy free milk alternative you have available to you.
- If you want something else with these sweet with these vanilla cupcakes but don't want dairy-free frosting, try dicing up some fresh fruit and serving it on top or with your homemade vegan vanilla cupcakes.
- You can also make dair- free, gluten-free chocolate cupcakes to serve with your vanilla ones.
- Feel free to use any gluten-free all purpose flour - some people like baking with coconut flour, tapioca flour, etc., but I really enjoy baking with Bob’s Red Mill gluten-free flour. Use whatever gluten-free flour blend you like baking with.
- For the version without cane sugar, make these Quick Vegan Cupcakes.
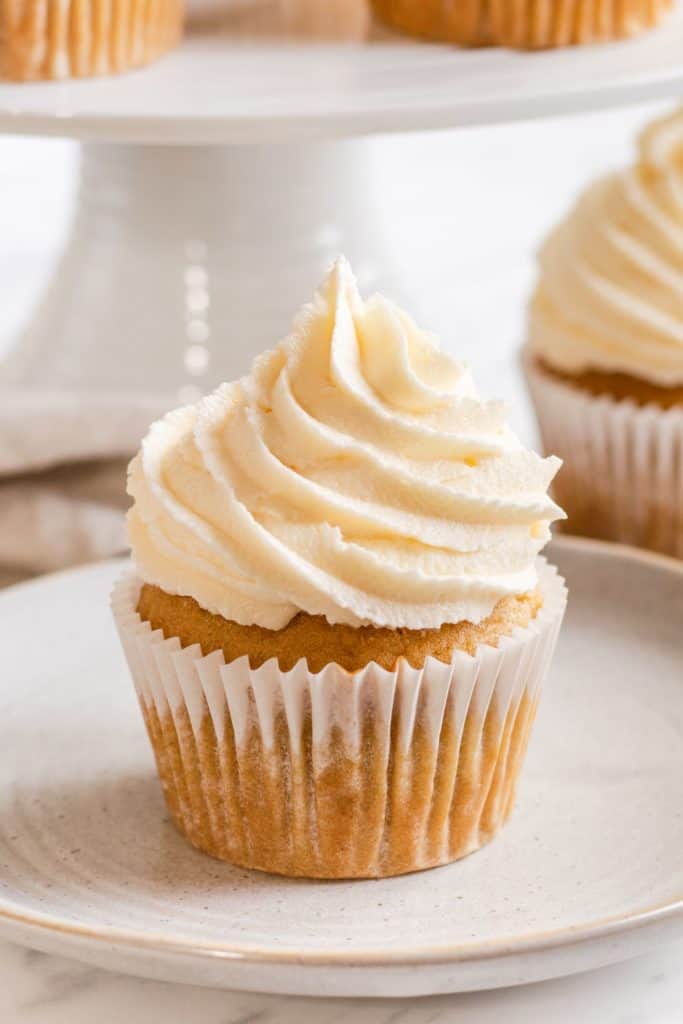
Frequently asked questions
A pro tip for getting moist cupcakes is having some bubbles in the batter as the cupcakes bake. To make sure you have those necessary bubbles, be sure to NOT overmix your cupcake batter. Overmixing causes those bubbles to disappear.
You may have seen those large top cupcakes that you almost mistook for a muffin. In order to get those kind of fluffy tops, bakeries start baking their baked goods at higher temperatures for the first five minutes and then lowering the temperature to the required optimal temperature for the remainder of the baking time- without opening the oven door.
Storing gluten-free vanilla cupcakes
Unfrosted, cooled cupcakes, are best stored in a single layer in an airtight container at room temperature for up to 2 days.
This will keep them moist. They can also be refrigerated this way for 3-4 days, but note that they won't be as moist.
It's best to wait to ice your cupcakes if you know you plan on storing them.
But, they can be stored iced if needed. Just be sure to store them in a single layer so you don't mash the icing.
You can also freeze unfrosted cupcakes.
I suggest placing thoroughly cooled cupcakes on a baking sheet that is lined with parchment paper and then placing the baking sheet with cupcakes in to the freezer for about 2 hours.
This makes sure all of the cupcakes are frozen individually so you can then transfer the frozen cupcakes to a freezer-safe bag or a freezer-safe container and store in the freezer for up to 2 months.
I do not recommend trying to freeze cupcakes that have frosting on them.
To thaw your frozen cupcakes, simply transfer them to the refrigerator overnight or up to 12 hours and they should be good to go.
These cupcakes are also best enjoyed at room temperature, so I suggest once they've thawed, let them sit on the counter to come up to room temperature before eating these tasty vanilla cupcakes.
More gluten-free vegan sweets
Dairy-Free Vanilla Cupcakes
Ingredients
WET INGREDIENTS
- 1 ½ cups unsweetened plant-based milk (I used almond milk)
- 1 ¼ cup organic cane sugar
- ⅓ cup vegetable or canola oil
- 2 teaspoon white wine vinegar (can substitute with apple cider vinegar)
- 2 teaspoon vanilla extract
DRY INGREDIENTS
- 2 ½ cups gluten-free all-purpose flour
- 2 ½ teaspoon baking powder
- ½ teaspoon baking soda
- ½ teaspoon xanthan gum (omit if your flour mixture already contains)
OPTIONAL
- dairy-free frosting of choice such as vegan buttercream or dairy-free cream cheese frosting
Instructions
- Preheat oven to 350° F and line a cupcake/muffin tin with 12 cupcake wrappers (*See notes below).
- Add all of the wet ingredients to a large mixing bowl. Whisk thoroughly to combine.
- In a separate bowl, whisk together the dry ingredients.
- Sift the whisked flour mixture into the bowl with the wet ingredients and stir or whisk to combine until no lumps of flour remain.
- Distribute the mixture evenly in the cupcake wrappers. Each should be approximately ¾ of the way full.
- Bake for 22-25 minutes or until a toothpick poked into the center of a cupcake comes out clean.
- Allow cupcakes to cool in the muffin tin before transferring to a wire cooling rack.
- Allow cupcakes to cool completely before icing.
(Please refer to the post above for instructional photographs and other helpful information for this recipe)
Suggested Equipment/Tools
Notes
Nutrition
©Watch Learn Eat. All content and images are copyright protected. Recipes and photos are not to be used or republished without prior permission. If you adapt this recipe, please re-write the recipe in your own words, and link back to this post for the original recipe.

Salma
Hi sherrii
My cupcakes sank I followed the recipe to the T I don't know what happened I have made these ones before but nothing went wrong last time please help what did I do wrong
Sherri Hall
Hi Salma, thanks for reaching out...hmmm the first thing I thought of to ask you is if you used a different GF flour than last time, but I am not sure if that would cause them to sink. I haven't had that happen before so I did run a quick Google search and it mentioned using expired baking soda/powder, overfilling the baking cups, and opening the oven too soon. Then specifically for GF baking, it mentions overbeating the batter or letting it sit too long before using. I really wish I could pinpoint the exact issue but in baking it could be any number of factors. Let me know what you think and I do hope they come out right again the next time.