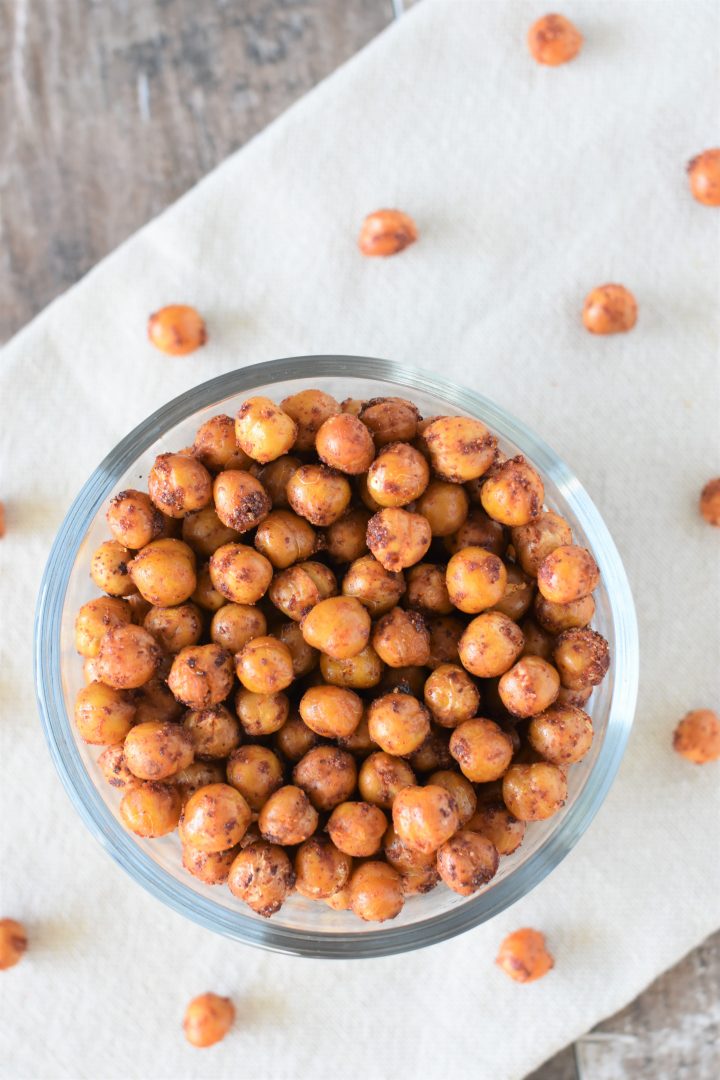
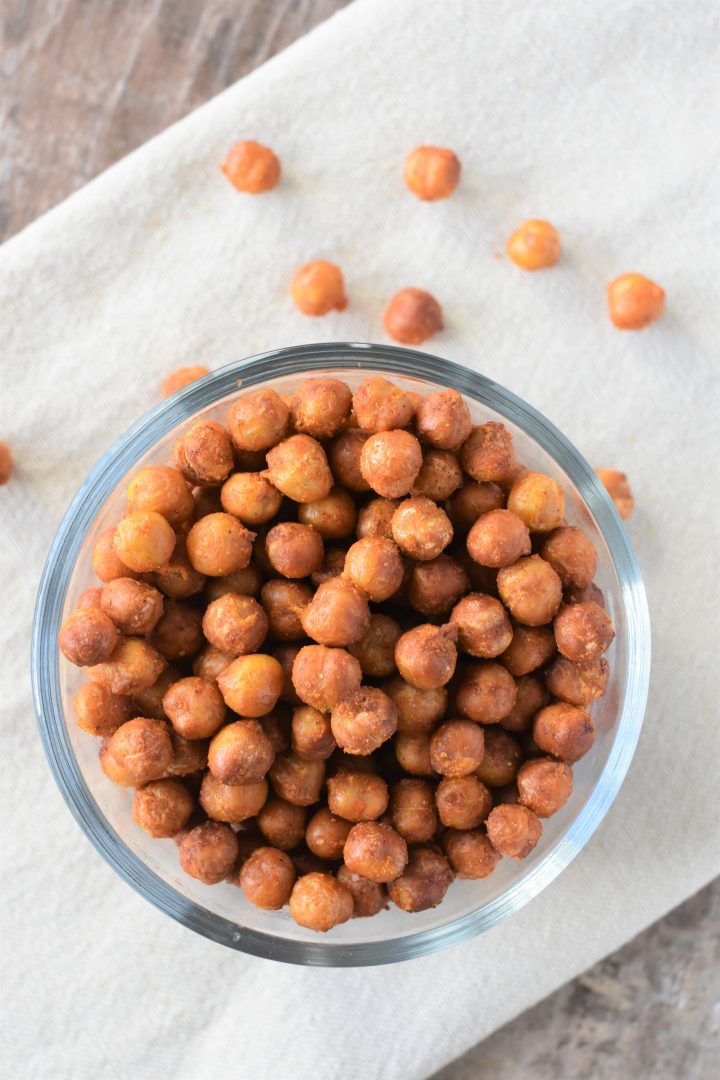
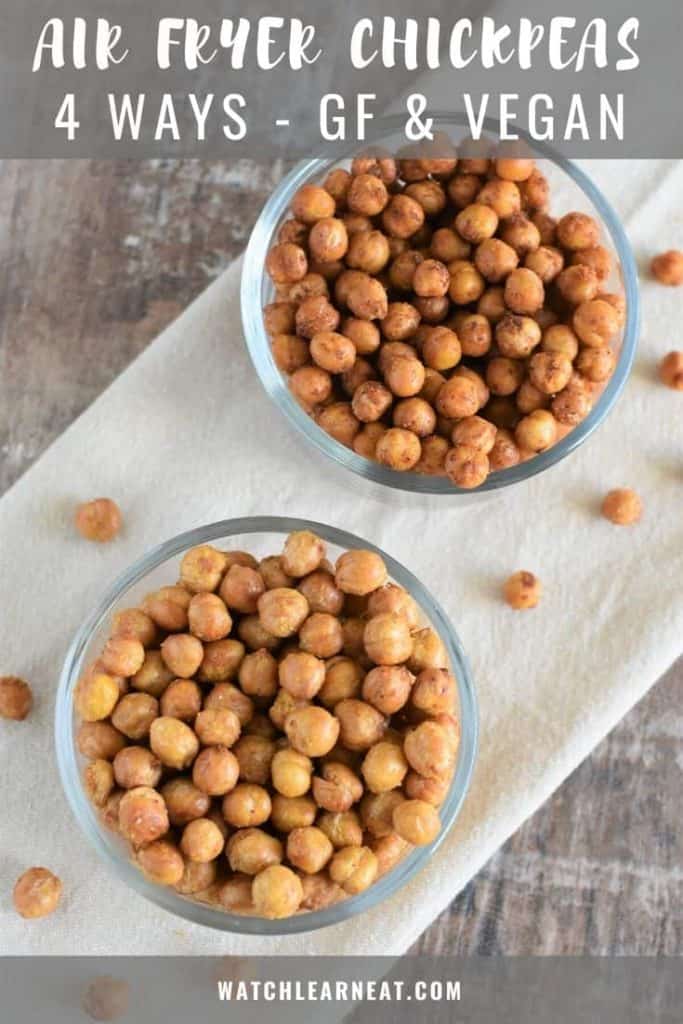
These Air Fryer Chickpeas make a delicious snack or even a salad or soup topper! Plus, because they're air fried, they come out crispy using minimal oil and are ready in less than 15 minutes! Featuring 4 flavor variations - BBQ, Buffalo, Cheesy and Taco Fiesta, all of which are vegan and gluten-free.
Jump to Recipe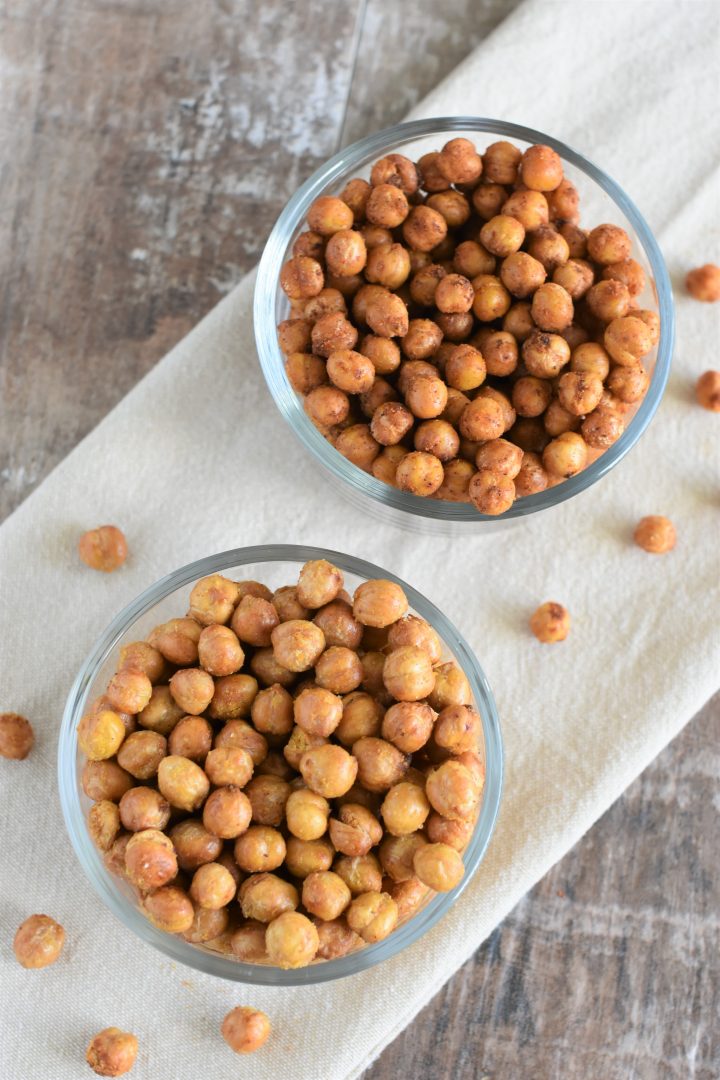
I'm pretty sure the air fryer is my new BFF.
I have been totally obsessed with using it to make all kinds of yummy things...things like these air fryer chickpeas!
Now I know I have a recipe for oven-roasted chickpeas, but being a total chickpea fiend, I just had to try them in the air fryer.
And now I can't stop making them...and eating them! 😉
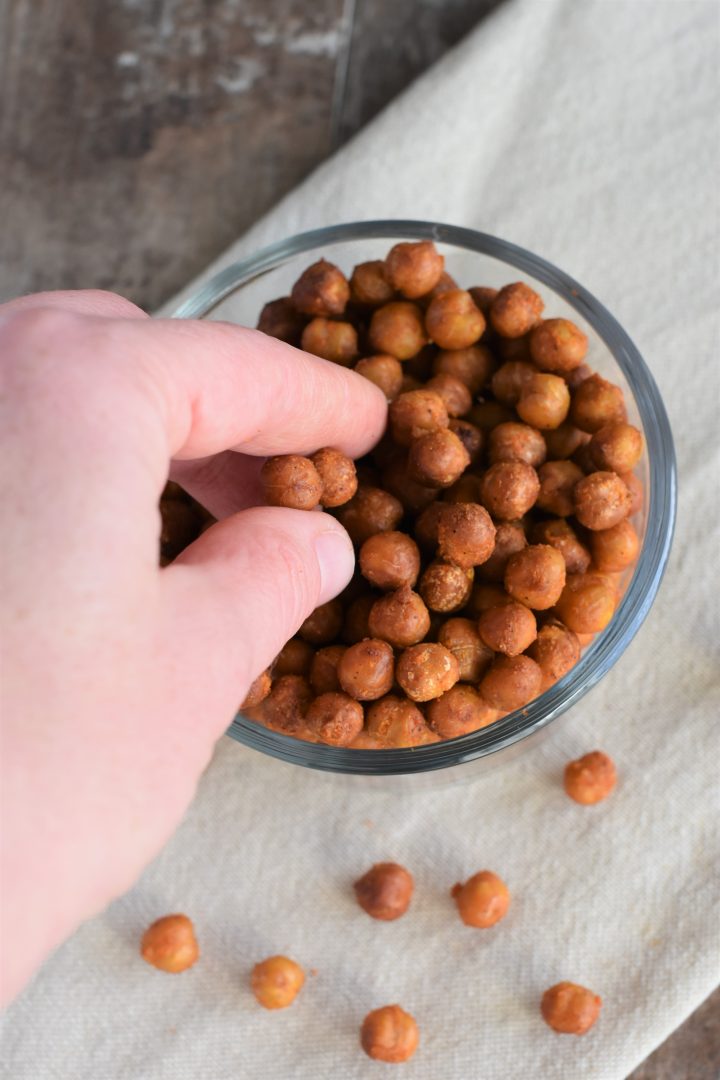
I love how crispy they come out in the air fryer versus the oven.
And when you make them in the air fryer instead of the oven, you can skip the step of drying the chickpeas on kitchen towels.
But, the best part is that they take half the time to make in the air fryer compared to the oven.
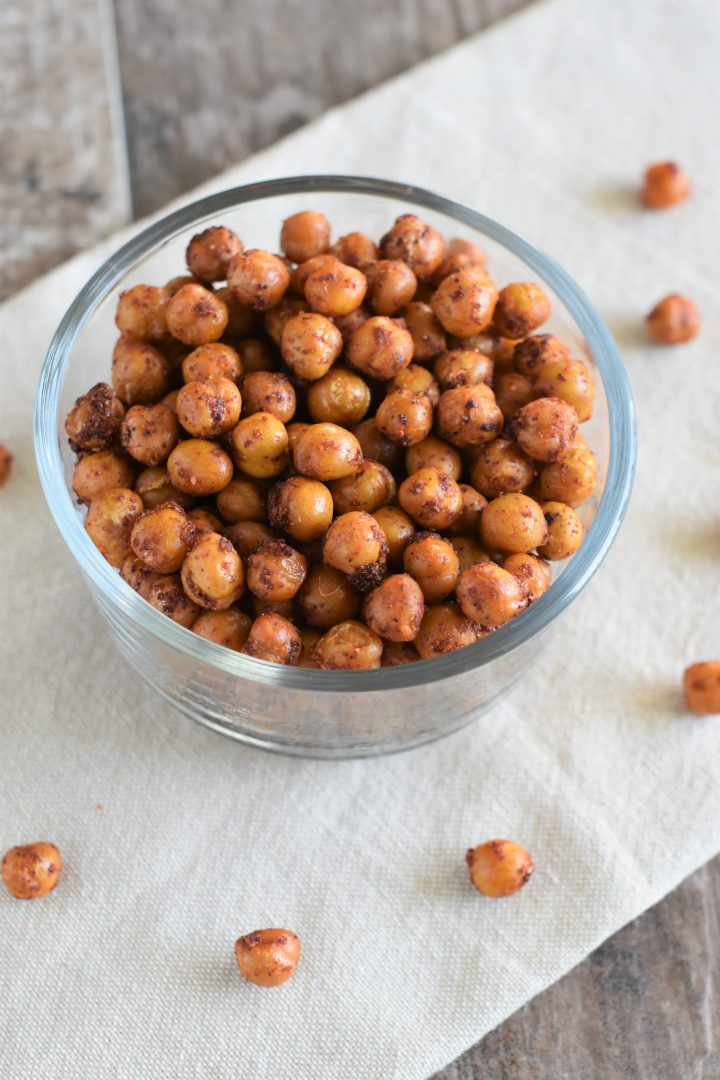
So, what are you waiting for? Let's get fried, air fried that is! 😉
How to Make Air Fryer Chickpeas - 4 Ways
For each of the 4 flavors, you're going to start by preheating your air fryer to 390° F for 3 minutes.
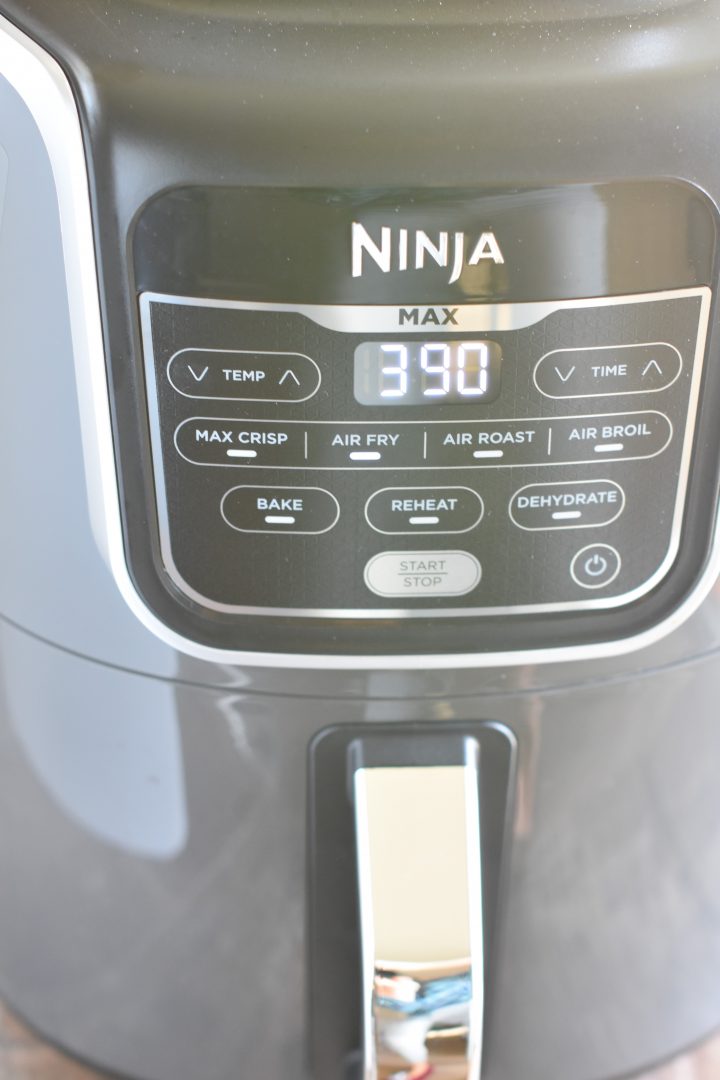
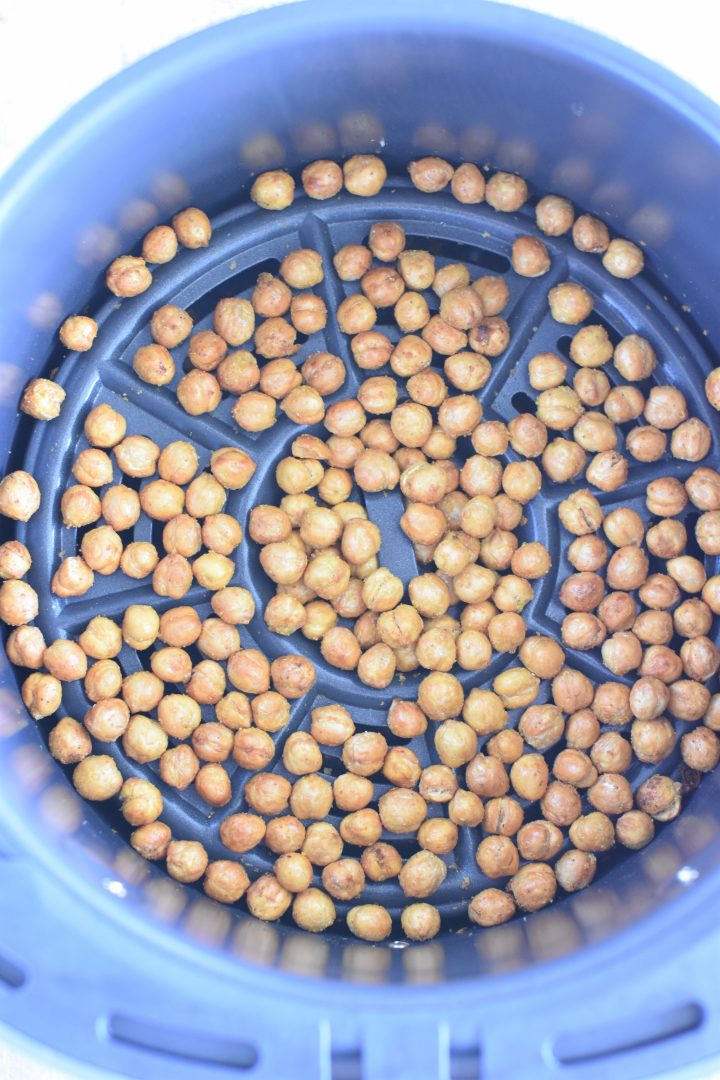
If your brand of air fryer comes with an elevated crisper plate/tray, be sure to insert it into the basket. For example, my Ninja air fryer comes with one and some other brands do as well.
While the air fryer is preheating, drain and rinse a can of chickpeas.
Add the chickpeas to a mixing bowl with 1 teaspoon of olive oil, and combine using a silicone spatula.
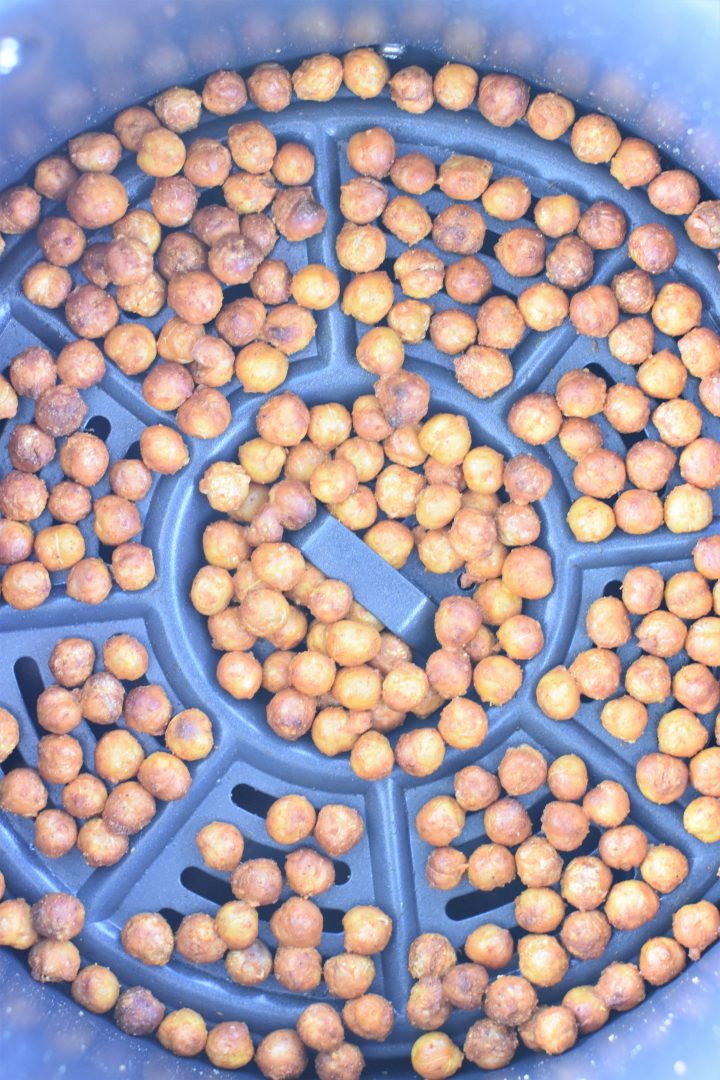
Then, add them to the air fryer basket.
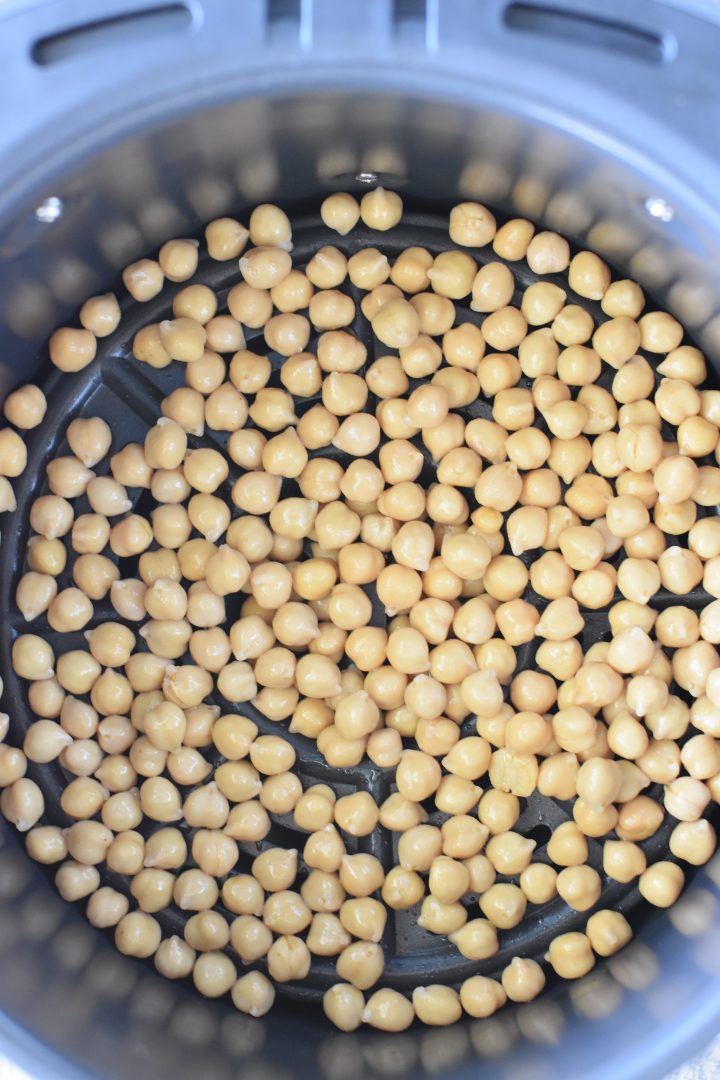
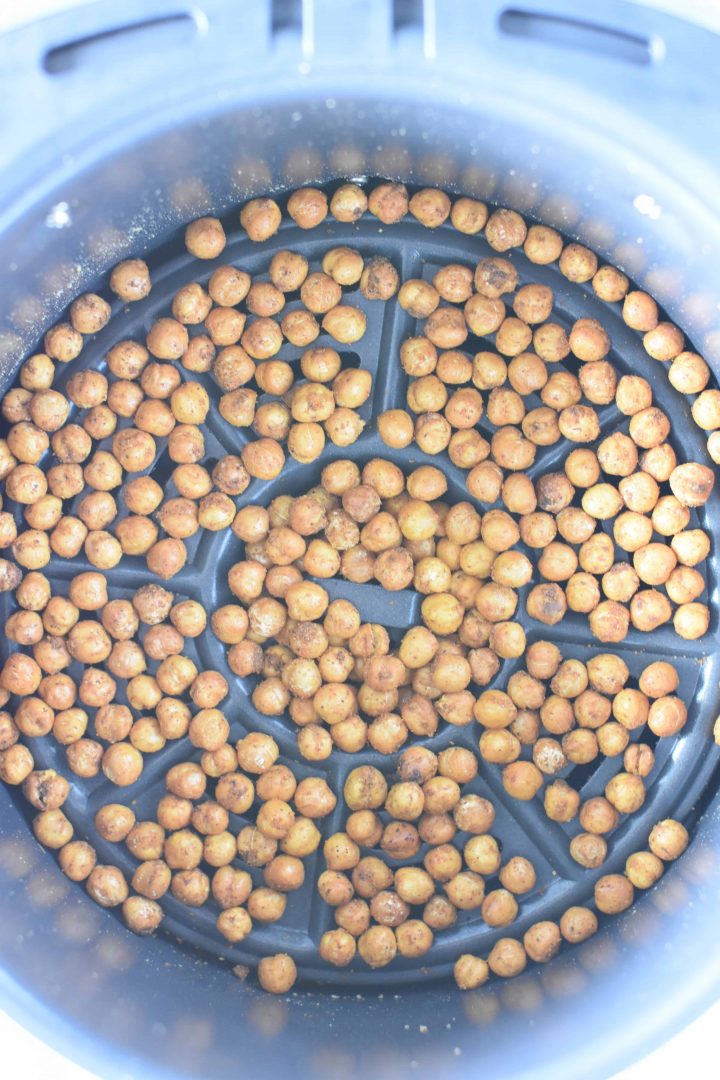
Air fry for 6 minutes at 390° F, shaking the basket halfway through.
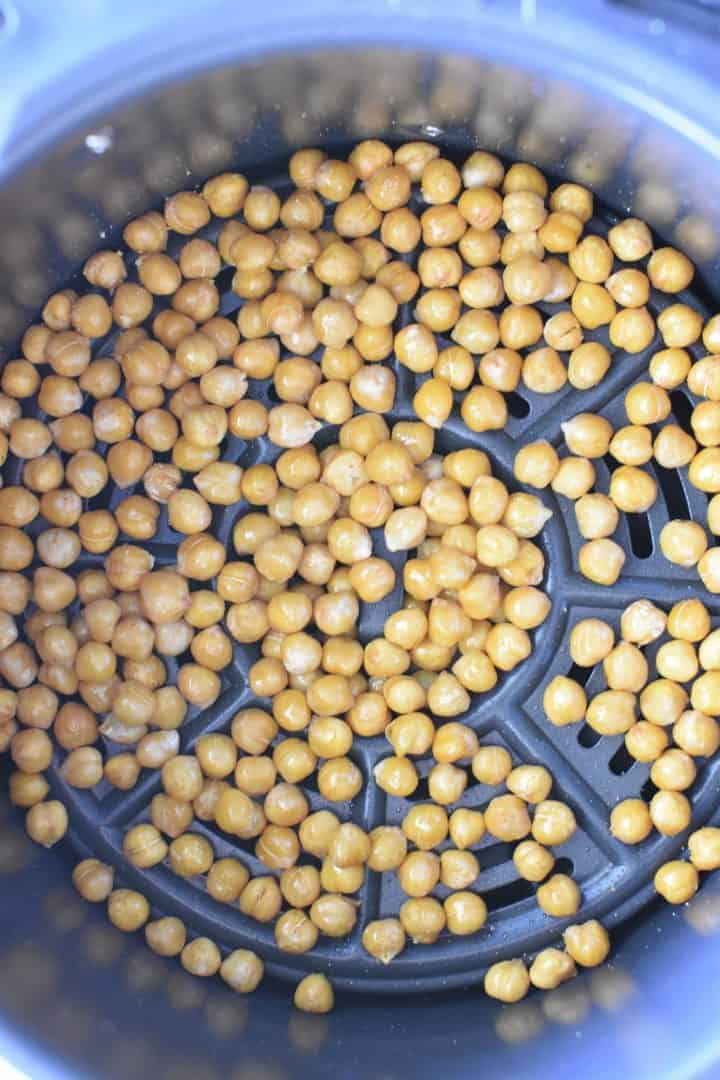
Set the mixing bowl aside because you will need it again. Don't rinse it out.
While the chickpeas are in the air fryer, you can prepare your seasoning mix for one of the following flavor combinations:
1. BBQ Chickpeas
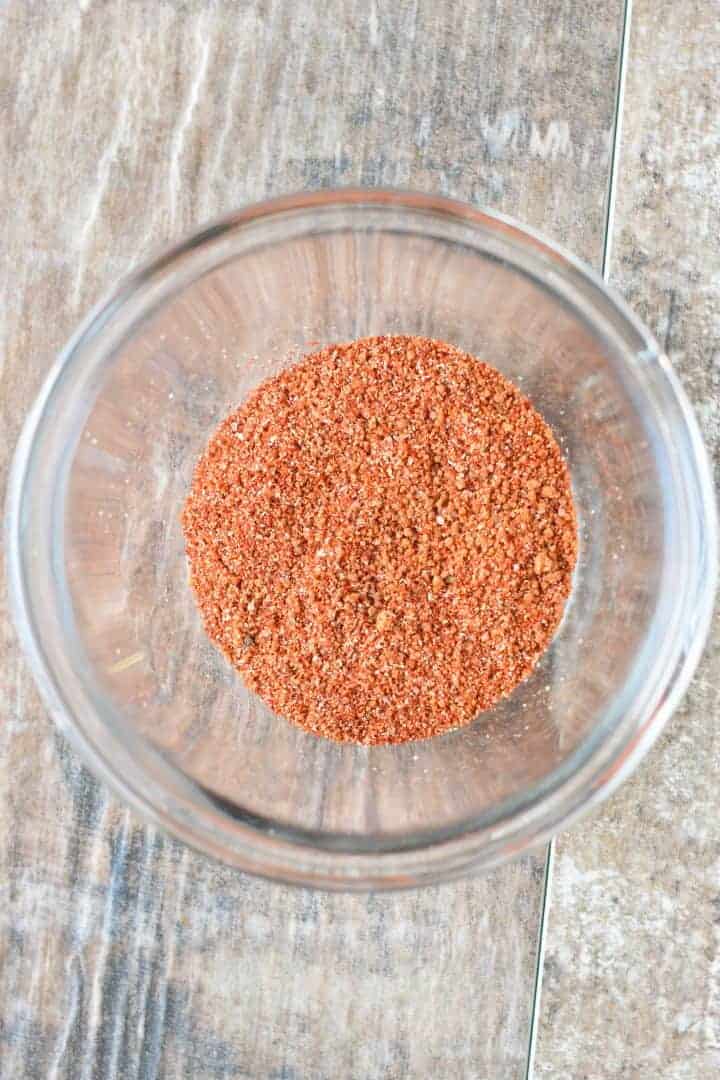
In a small bowl, combine smoked paprika, coconut sugar, (sweet) paprika, salt, garlic powder and onion powder.
After the chickpeas have air fried for 6 minutes, add them back to the mixing bowl.
Then, add the seasoning mixture and combine using a silicone spatula until everything is well-incorporated.
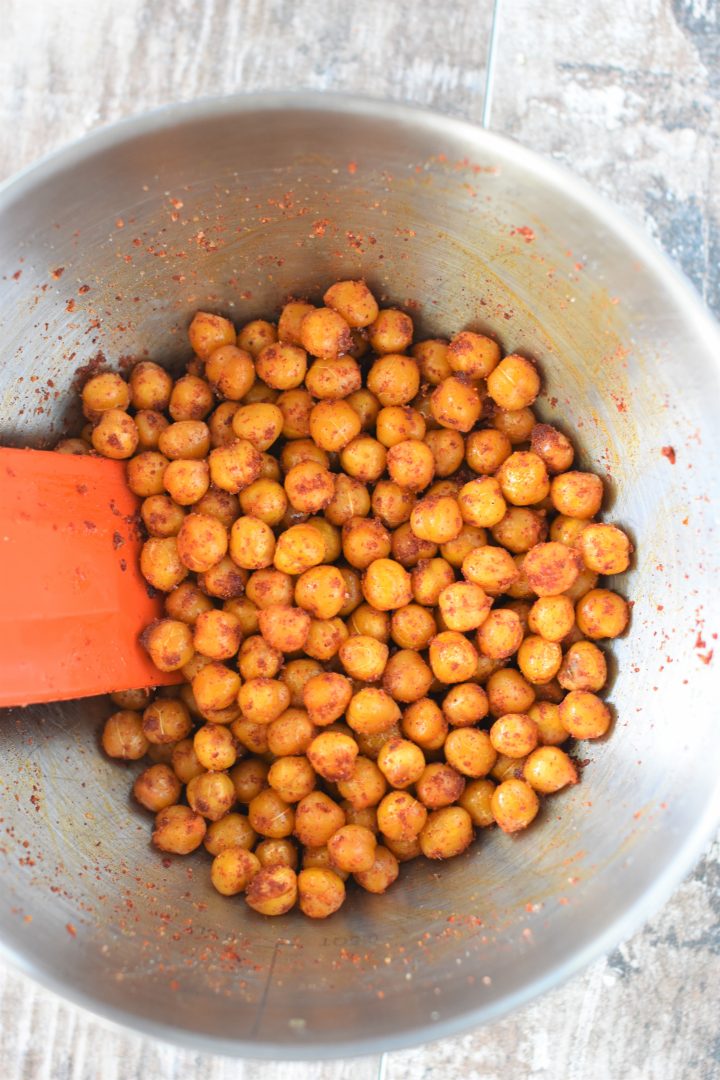
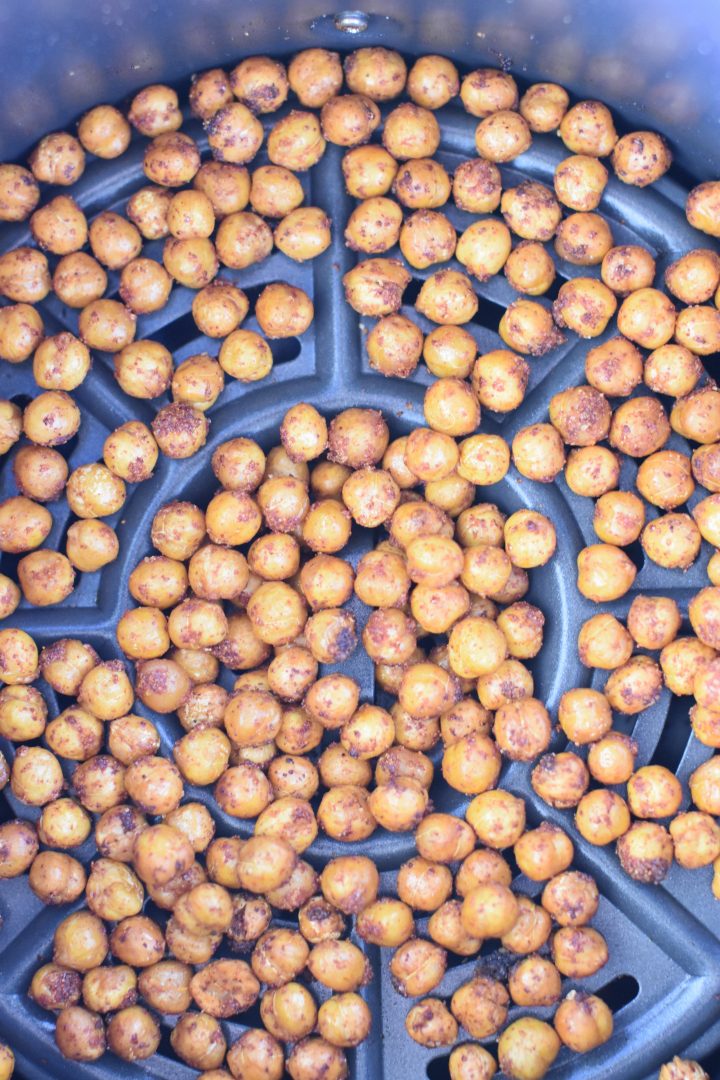
Add the seasoned chickpeas back to the air fryer and continue to air fry at 390° F for 6-8 more minutes until desired crispiness is reached, shaking the basket 2-3 times during cooking.
2. Buffalo Chickpeas
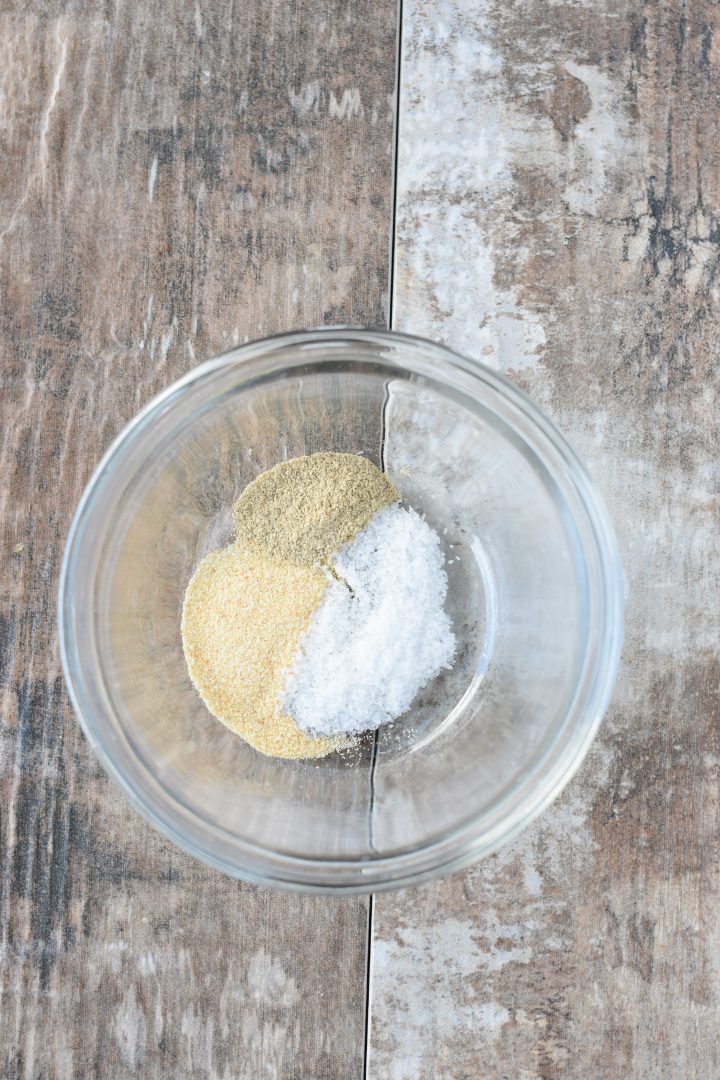
In a small bowl, combine salt, garlic powder and white pepper.
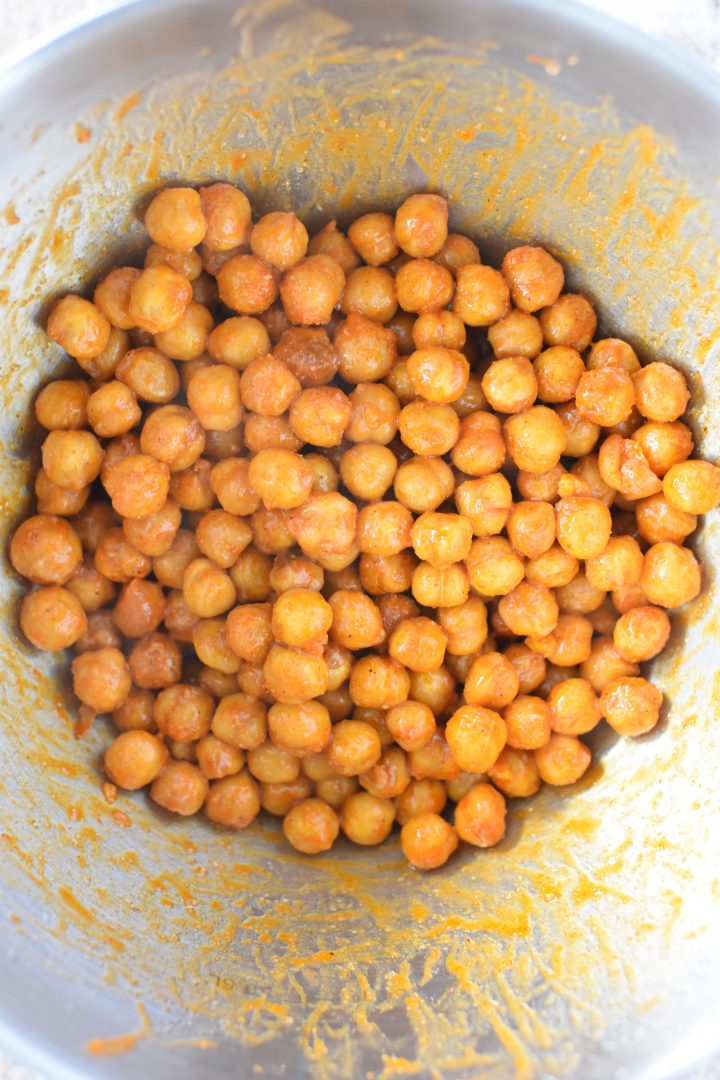
After the chickpeas have air fried for 6 minutes, add them back to the mixing bowl.
Mix in the Buffalo sauce with a silicone spatula.
Then, add the seasoning mixture and combine with the silicone spatula until everything is well-incorporated.
Add the seasoned chickpeas back to the air fryer and continue to air fry at 390° F for 6-8 more minutes until desired crispiness is reached, shaking the basket 2-3 times during cooking.
3. Cheesy Chickpeas
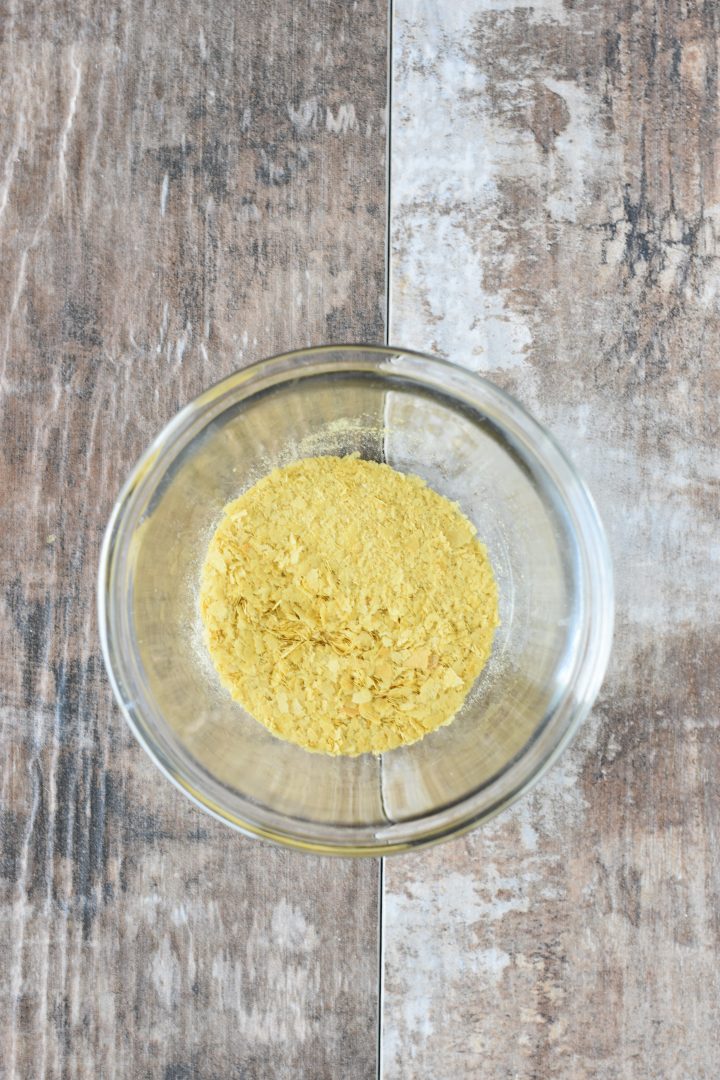
In a small bowl, combine nutritional yeast, salt and garlic powder.
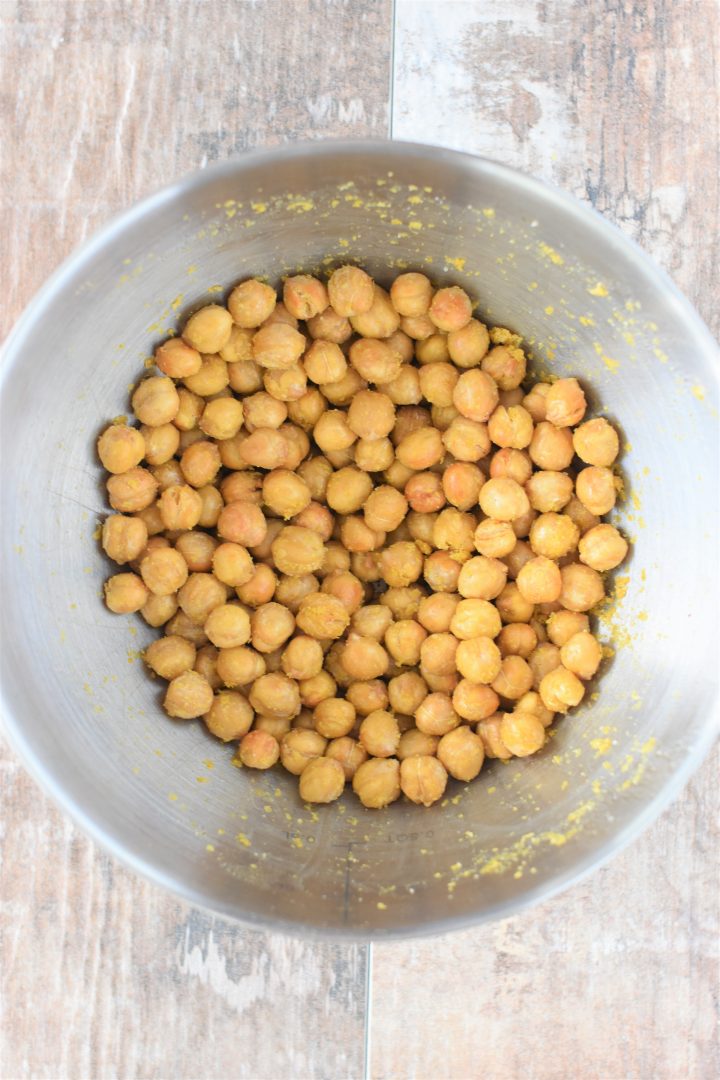
After the chickpeas have air fried for 6 minutes, add them back to the mixing bowl.
Then, add the seasoning mixture and combine using a silicone spatula until everything is well-incorporated.
Add the seasoned chickpeas back to the air fryer and continue to air fry at 390° F for 6-8 more minutes until desired crispiness is reached, shaking the basket 2-3 times during cooking.
4. Taco Fiesta Chickpeas
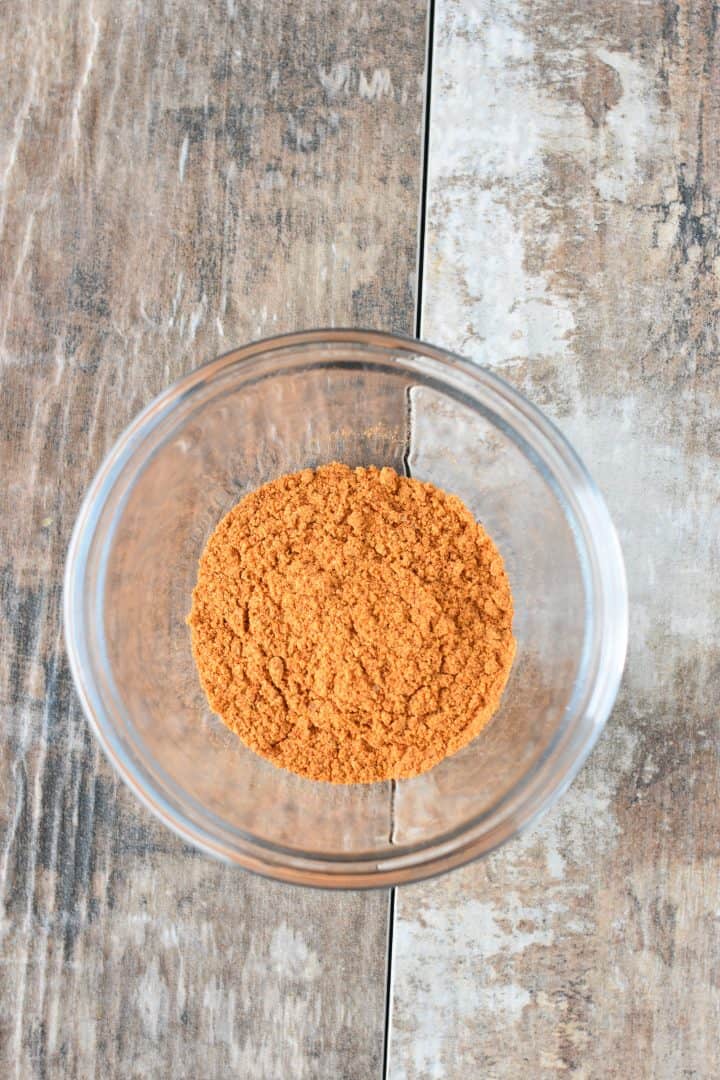
In a small bowl, combine taco seasoning and optional salt (depending how much salt is in your seasoning mix).
After the chickpeas have air fried for 6 minutes, add them back to the mixing bowl.
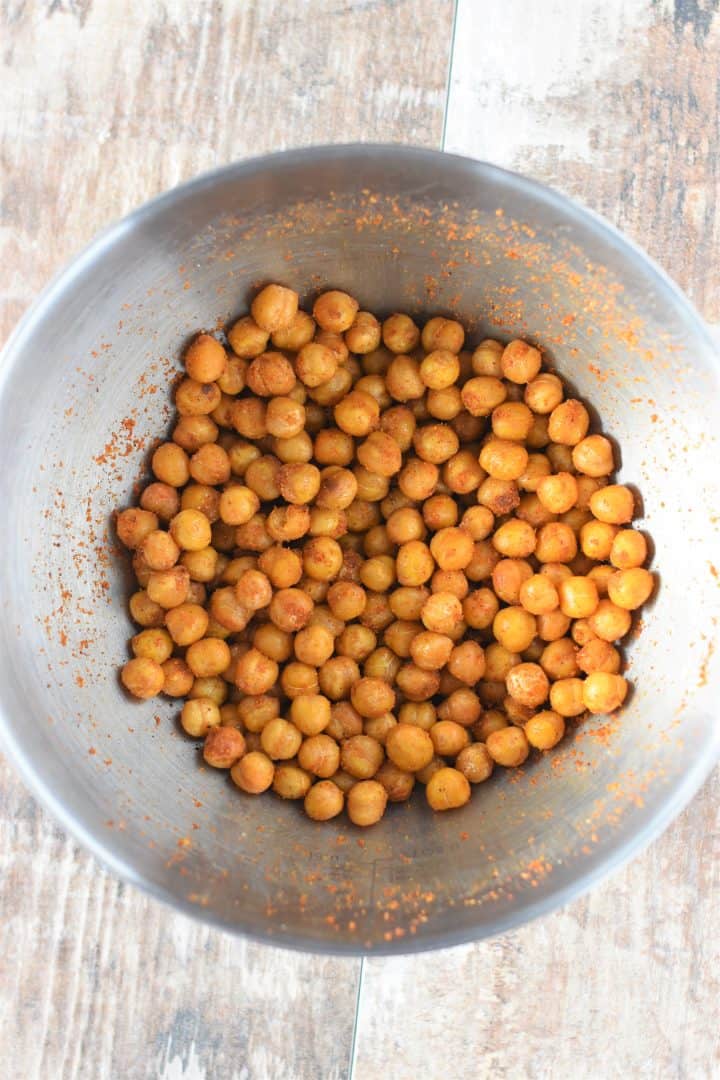
Then, add the seasoning mixture and combine using a silicone spatula until everything is well-incorporated.
Add the seasoned chickpeas back to the air fryer and continue to air fry at 390° F for 6-8 more minutes until desired crispiness is reached, shaking the basket 2-3 times during cooking.
Serving Suggestions
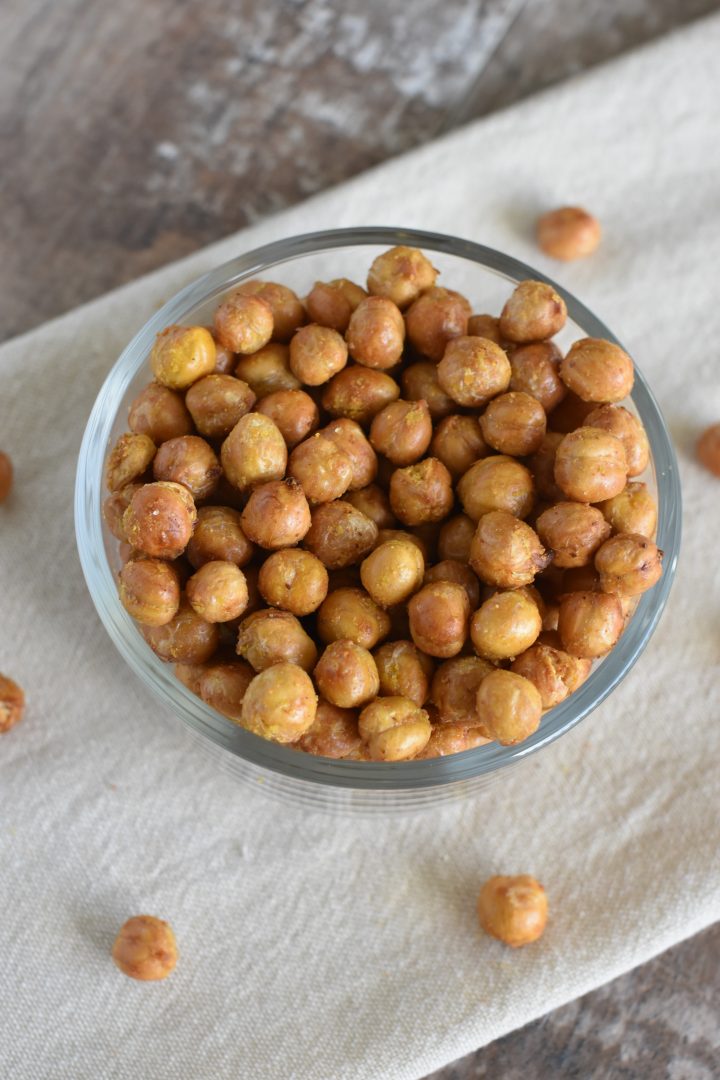
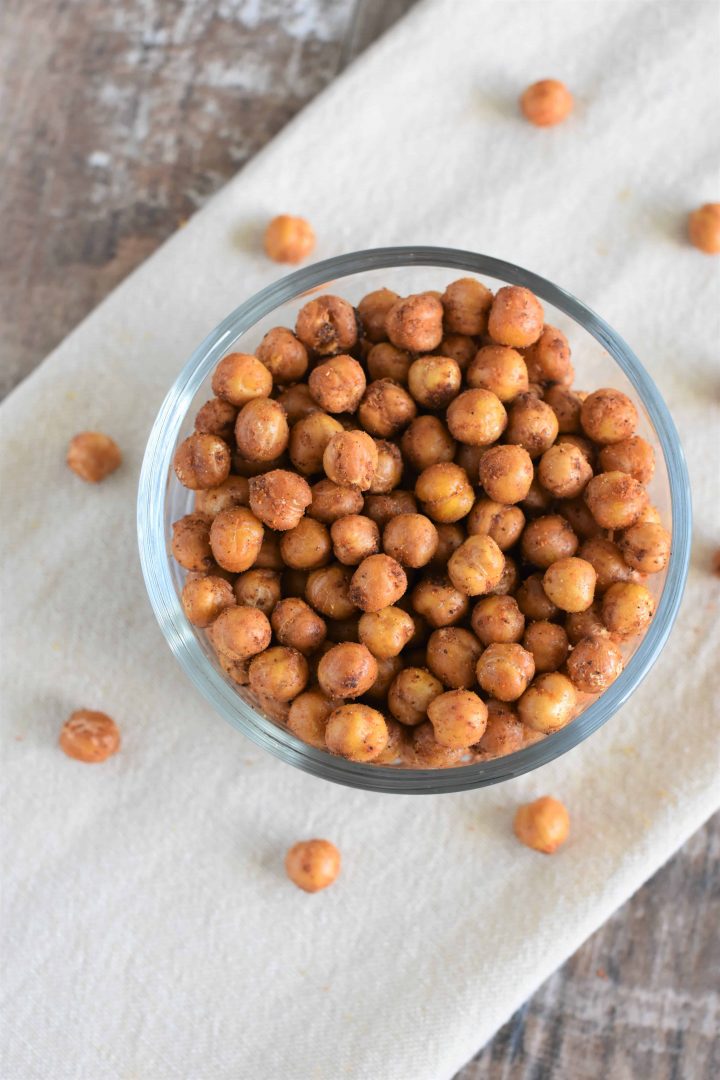
These crunchy chickpeas not only make a great snack, but they are also perfect for topping salads, soups and power bowls.
I also really enjoy the Buffalo and BBQ chickpeas on top of a baked sweet potato and the Taco Fiesta chickpeas on top of some vegan nachos, while the Cheesy ones are my favorite for snacking. 🙂
Storing the Chickpeas
The air fried chickpeas are best enjoyed right away; however, they can be stored at room temperature in a covered container for up to 5 days. I use a small glass bowl with a lid to store mine.
Once stored, the chickpeas will soften up.
If you want to crisp them up again, you can either reheat them in the air fryer at 390° F for a few minutes until desired crispiness is reached or pop them in a 400° F oven on a parchment-lined baking sheet for about 5 minutes.
More Air Fryer Recipes
Air Fryer Chickpeas - 4 Ways
Ingredients
FOR ALL 4 FLAVORS
FOR THE BBQ
- ¾ teaspoon smoked paprika
- ¾ teaspoon coconut sugar (you can substitute organic cane sugar)
- ¼ teaspoon (sweet) paprika
- ½ teaspoon fine sea salt or kosher salt
- ¼ teaspoon garlic powder
- ¼ teaspoon onion powder
FOR THE BUFFALO
- 1 ½ tablespoon gluten-free, vegan Buffalo sauce
- ½ teaspoon fine sea salt or kosher salt
- ¼ teaspoon garlic powder
- ⅛ teaspoon white pepper
FOR THE CHEESY
- 2 teaspoon nutritional yeast
- ½ teaspoon fine sea salt or kosher salt
- ¼ teaspoon garlic powder
FOR THE TACO FIESTA
- 2 teaspoon organic gluten-free, vegan taco seasoning
- ¼ teaspoon fine sea salt or kosher salt, optional (use if you find your taco seasoning to not have enough salt)
Instructions
FOR ALL 4 FLAVORS
- For each of the 4 flavors, start by preheating the air fryer to 390° F for 3 minutes. If your brand of air fryer comes with an elevated crisper plate/tray, be sure to insert it into the basket.
- While the air fryer is preheating, add the chickpeas to a mixing bowl with 1 teaspoon of olive oil. Combine using a silicone spatula.
- Add the chickpeas to the air fryer basket and air fryer for 6 minutes at 390° F, shaking the basket halfway through. Set the mixing bowl aside because you will need it again. Don't rinse it out. While the chickpeas are in the air fryer, you can prepare your seasoning mix for one of the following flavor combinations:
FOR THE BBQ
- In a small bowl, combine smoked paprika, coconut sugar, (sweet) paprika, salt, garlic powder and onion powder.
- After the chickpeas have air fried for 6 minutes, add them back to the mixing bowl.
Then, add the seasoning mixture and combine using a silicone spatula until everything is well-incorporated. - Add the seasoned chickpeas back to the air fryer and continue to air fry at 390° F for 6-8 more minutes until desired crispiness is reached, shaking the basket 2-3 times during cooking.
FOR THE BUFFALO
- In a small bowl, combine salt, garlic powder and white pepper.
- After the chickpeas have air fried for 6 minutes, add them back to the mixing bowl.
Mix in the Buffalo sauce with a silicone spatula. Then, add the seasoning mixture and combine with the silicone spatula until everything is well-incorporated. - Add the seasoned chickpeas back to the air fryer and continue to air fry at 390° F for 6-8 more minutes until desired crispiness is reached, shaking the basket 2-3 times during cooking.
FOR THE CHEESY
- In a small bowl, combine nutritional yeast, salt and garlic powder.
- After the chickpeas have air fried for 6 minutes, add them back to the mixing bowl. Then, add the seasoning mixture and combine using a silicone spatula until everything is well-incorporated.
- Add the seasoned chickpeas back to the air fryer and continue to air fry at 390° F for 6-8 more minutes until desired crispiness is reached, shaking the basket 2-3 times during cooking.
FOR THE TACO FIESTA
- In a small bowl, combine taco seasoning and optional salt (depending how much salt is in your seasoning mix).
- After the chickpeas have air fried for 6 minutes, add them back to the mixing bowl. Then, add the seasoning mixture and combine using a silicone spatula until everything is well-incorporated.
- Add the seasoned chickpeas back to the air fryer and continue to air fry at 390° F for 6-8 more minutes until desired crispiness is reached, shaking the basket 2-3 times during cooking.
(Please refer to the post above for instructional photographs and other helpful information for this recipe)
Suggested Equipment/Tools
Notes
©Watch Learn Eat. All content and images are copyright protected. Recipes and images are not to be used or republished without prior permission. If you adapt this recipe, please re-write the recipe in your own words, and link back to this post for the original recipe.


Leave a Reply